Saying Goodbye to Scenes

Starting May 1st, 2022, creators will no longer be able to make videos using the Scenes view in Kapwing. Read on to learn more about what's changing, why we made this decision, and how to make videos in Kapwing without Scenes.
What's changing and why?
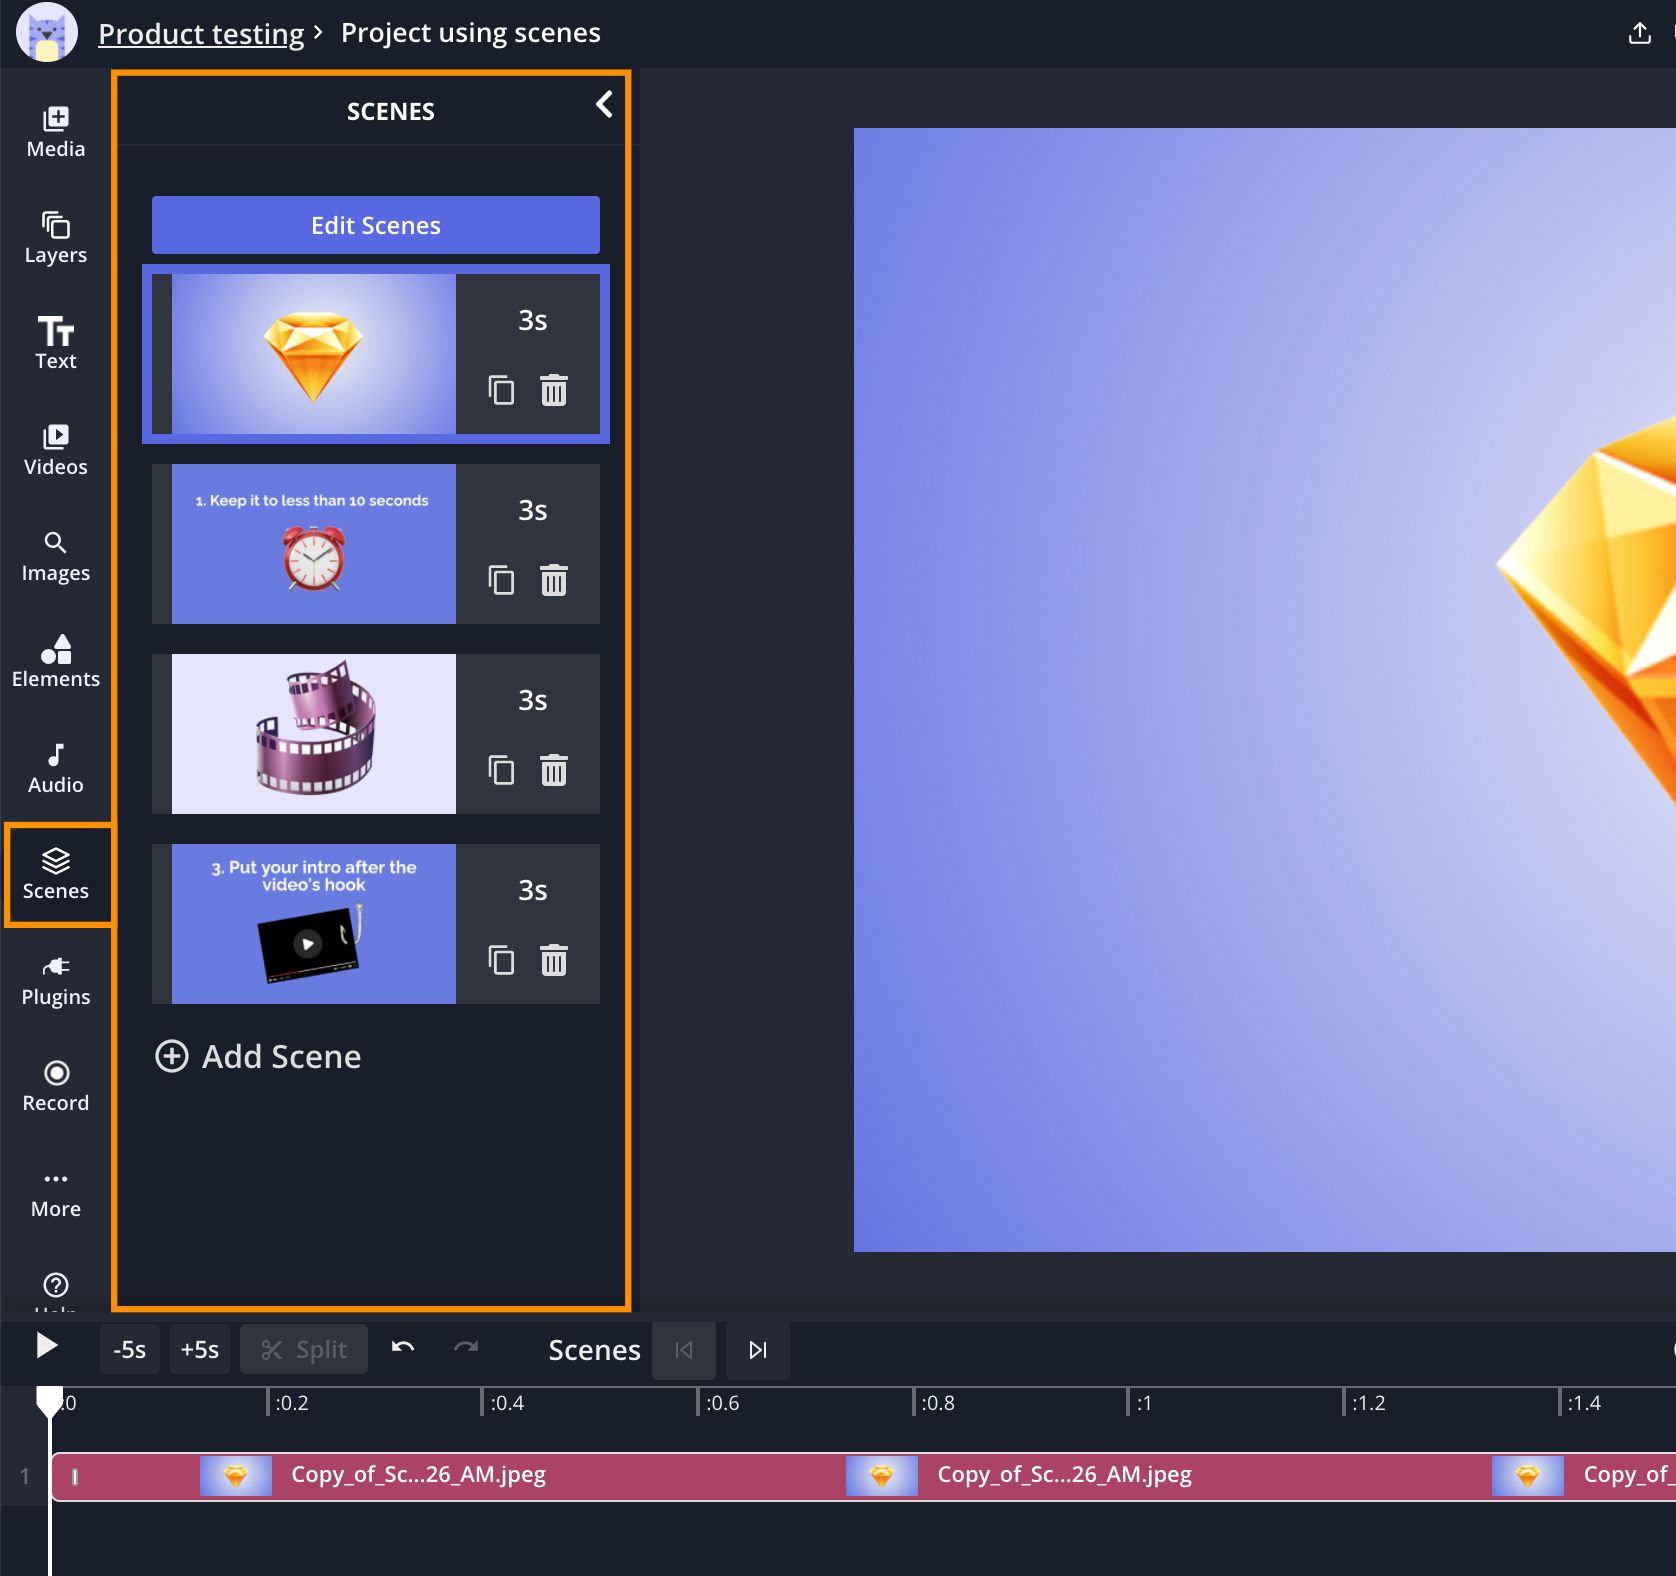
- On May 1st, 2022, the Scenes tab located on the left sidebar will be removed from Kapwing. Creators won't be able to make new video projects using Scenes.
- Existing projects that used Scenes before May 1st will remain in your workspace. Contact us if you need help recovering an old project.
- We're making this change to streamline creative workflows in Kapwing. Everything in Scenes can be done in the Timeline, which we introduced a few years ago when creators asked for features to help them make more complex stories in Kapwing. Scenes and the Timeline have co-existed in the editor for a while, but we increasingly noticed that having them both in Kapwing led to more confusion amongst users and introduced bugs to the editing experience. We're always working to make it easier for creators to tell their stories and believe this will help create a smoother experience for everyone.
How to make videos in Kapwing without Scenes
Even without Scenes, you can still make videos in a similar way using the Timeline in Kapwing!
How the Timeline works
You can upload your videos, images, and GIFs onto the main canvas in Kapwing and they will show up in the Timeline at the bottom of the screen.
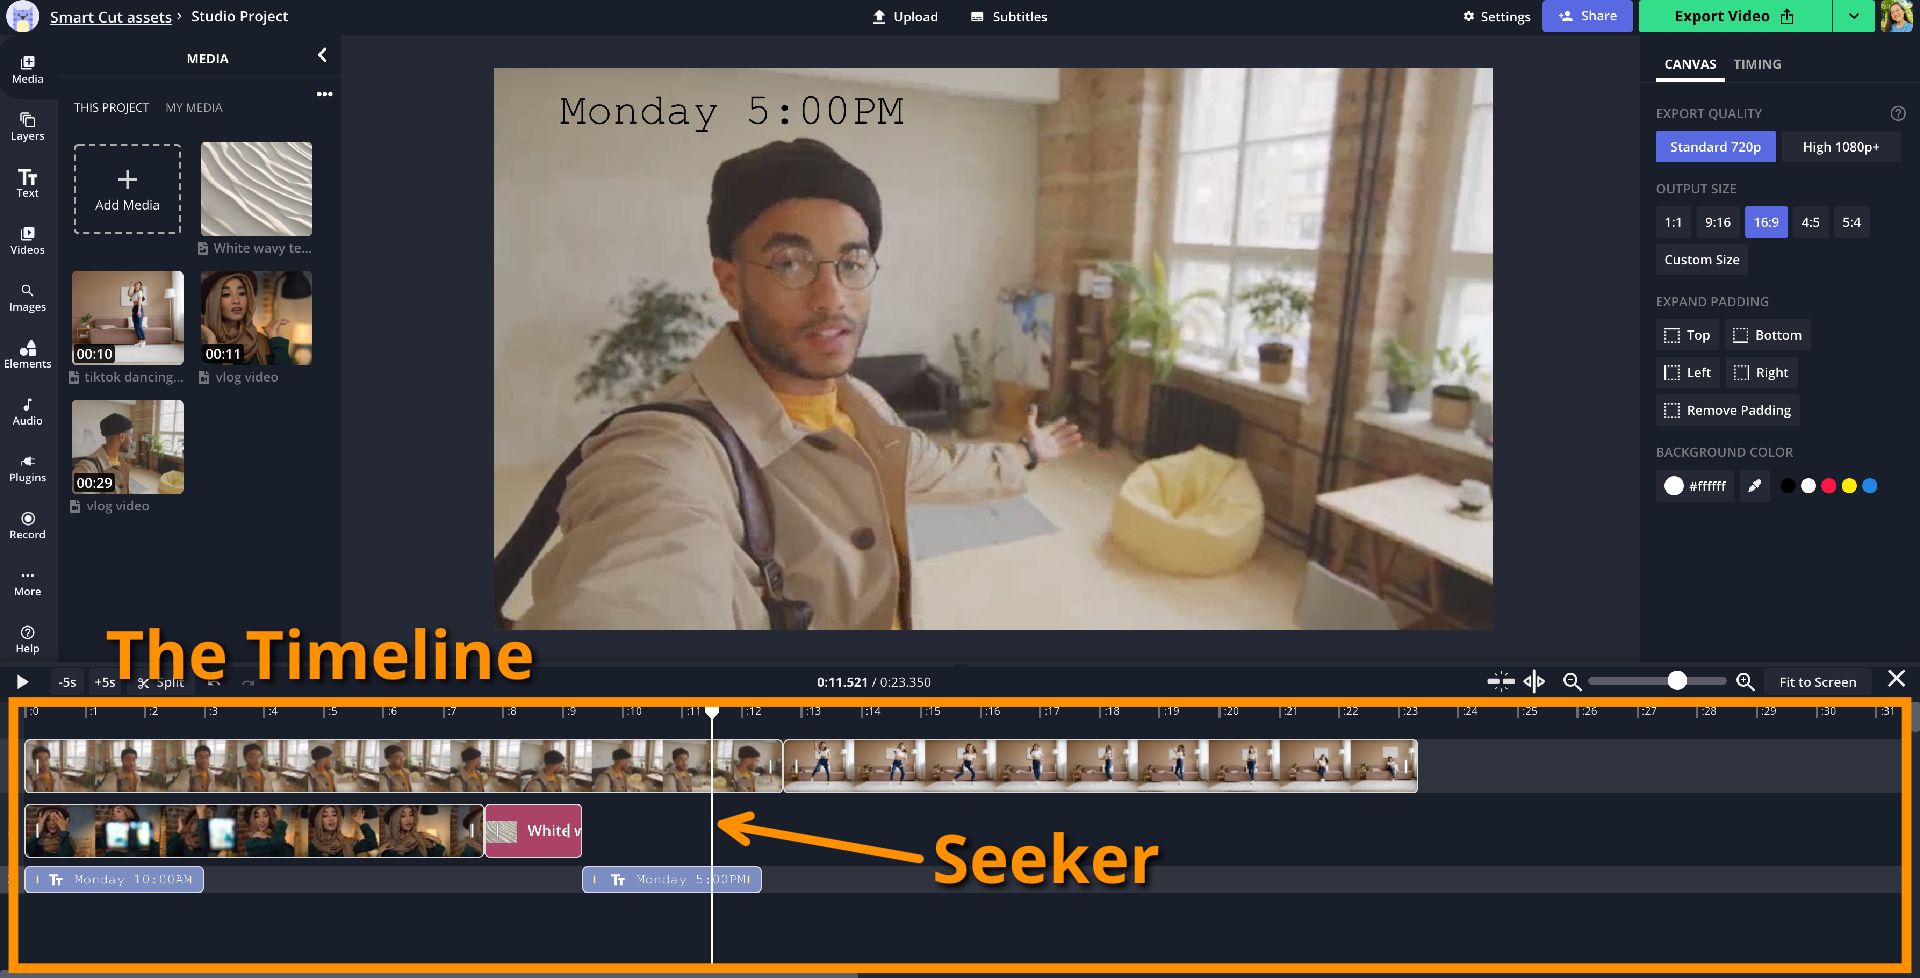
You can think of the Timeline as one master scene where all the layers are displayed. It shows the progression of the video from left to right, where left is the beginning of the video. The length of the layer in the Timeline indicates how long it lasts in the video, and the moving shows what the video will look like to your audience at a particular point in the video. We'll go over the basics of how to use the Timeline below, and you can learn more in our tutorial here.
- To change the duration of a video, image, or GIF: In the Timeline, trim the layer by dragging the ends of the clip inwards to make it shorter or extend it outwards to make it last longer.
- To reorder clips: click and drag the clip in the Timeline and place it before or after another clip.
- To delete clips: click the clip in Timeline and hit the Delete key on your keyboard.
Edit duration and apply to all images
In the Timeline, you can also adjust the duration of all your photos at once to easily create slideshow and montages. To do this:
- Upload all your photos to a new project. Then select all the layers by clicking and dragging to create a box around them on the canvas or in the Timeline (only images can be selected for this feature to work).

- On the right side under the Duration header, use the drop down to choose how long you want each image to last. Once selected, the image layers should all last the same amount of time. You can still adjust the length of each one using the trimming method described above.
Check out our full demonstration in this video here:
Lastly...
Thank you for being on this journey with us ❤️ Your support is the reason we're still around today and enables us to build creative tools so people can bring their own stories to life. We're excited to continue serving you and other creators around the globe – stay tuned for lots of new features coming soon! 🚀
Subscribe to our YouTube channel and Twitter to get the latest updates, or read through them in our monthly release notes.


