Beginner's Guide to Adding Special Effects to Transparent Video Backgrounds
Transform your video by removing the background and adding visual effects
For today’s content creators, there’s an abundance of editor apps, online tools, and software designed to enhance videos with special effects.
Is CGI something a beginner can create? What exactly is bullet time? And should I attempt 3D compositing? Damn, a glossary would be handy!
With so many options, navigating the video editing world can feel overwhelming, especially for beginners seeking quick and easy solutions. To simplify the process, we've put together a guide to special effects that can be seamlessly applied to transparent video backgrounds, along with tips on where to find them.
Whether you have a clear vision for your video or need inspiration, by the end of this article, you’ll know exactly what steps to take next.
Jump To
How to Remove a Background and Make it Transparent (With or Without a Green Screen)
The first step to adding special effects to your video is removing the background and leaving your subject with a transparent backdrop.
Using Kapwing, you can complete this process in one click.
Upload your video, head to the 'Effects' tab, and select 'Remove Video Background' — no manual tracing or object tracking required.
If you filmed with a green screen, use the 'Chroma Key' tool to remove any solid-color background. You can fine-tune the removal with an adjustable threshold. Likewise, you can choose from a selection of green screen templates to enhance your transparent background.
Click one button and a transparent background is applied
Add Video and Images to Your Background
While adding video or image backgrounds isn’t technically a 'special effect', it’s an easy way for beginners to elevate the quality of their videos. Upload any video or image, then drag it to the editing timeline at the bottom of the screen. Right-click on the item and select ‘Send to Back’ to layer it behind your subject.
Kapwing also has a library of royalty-free stock footage that can be used to give your video a professional finish. Whether you need a sleek office background for a presentation, a scenic ocean view for a travel vlog, or a specific food backdrop for a recipe video, Kapwing has a variety of options to suit your needs.
Best Special Effects For Transparent Backgrounds
Morphing
Morphing is a special effect that smoothly transitions one object into another, creating a captivating and seamless transformation. When applied correctly, it’s both visually striking and highly effective, especially when used as a dynamic backdrop.
This effect goes by names like 'morphing,' 'morph cut,' or 'morph transition' in different editing tools, each with varying levels of difficulty and effectiveness. For a high-quality and beginner-friendly experience, we recommend using VideoStudio Pro.
Glitch
The glitch effect is a visual distortion technique that replicates digital errors like pixelation, color shifts, and screen tearing. It’s commonly used to create a futuristic or retro vibe and is popular among filmmakers, video editors, and creators in the music, gaming, and tech industries.
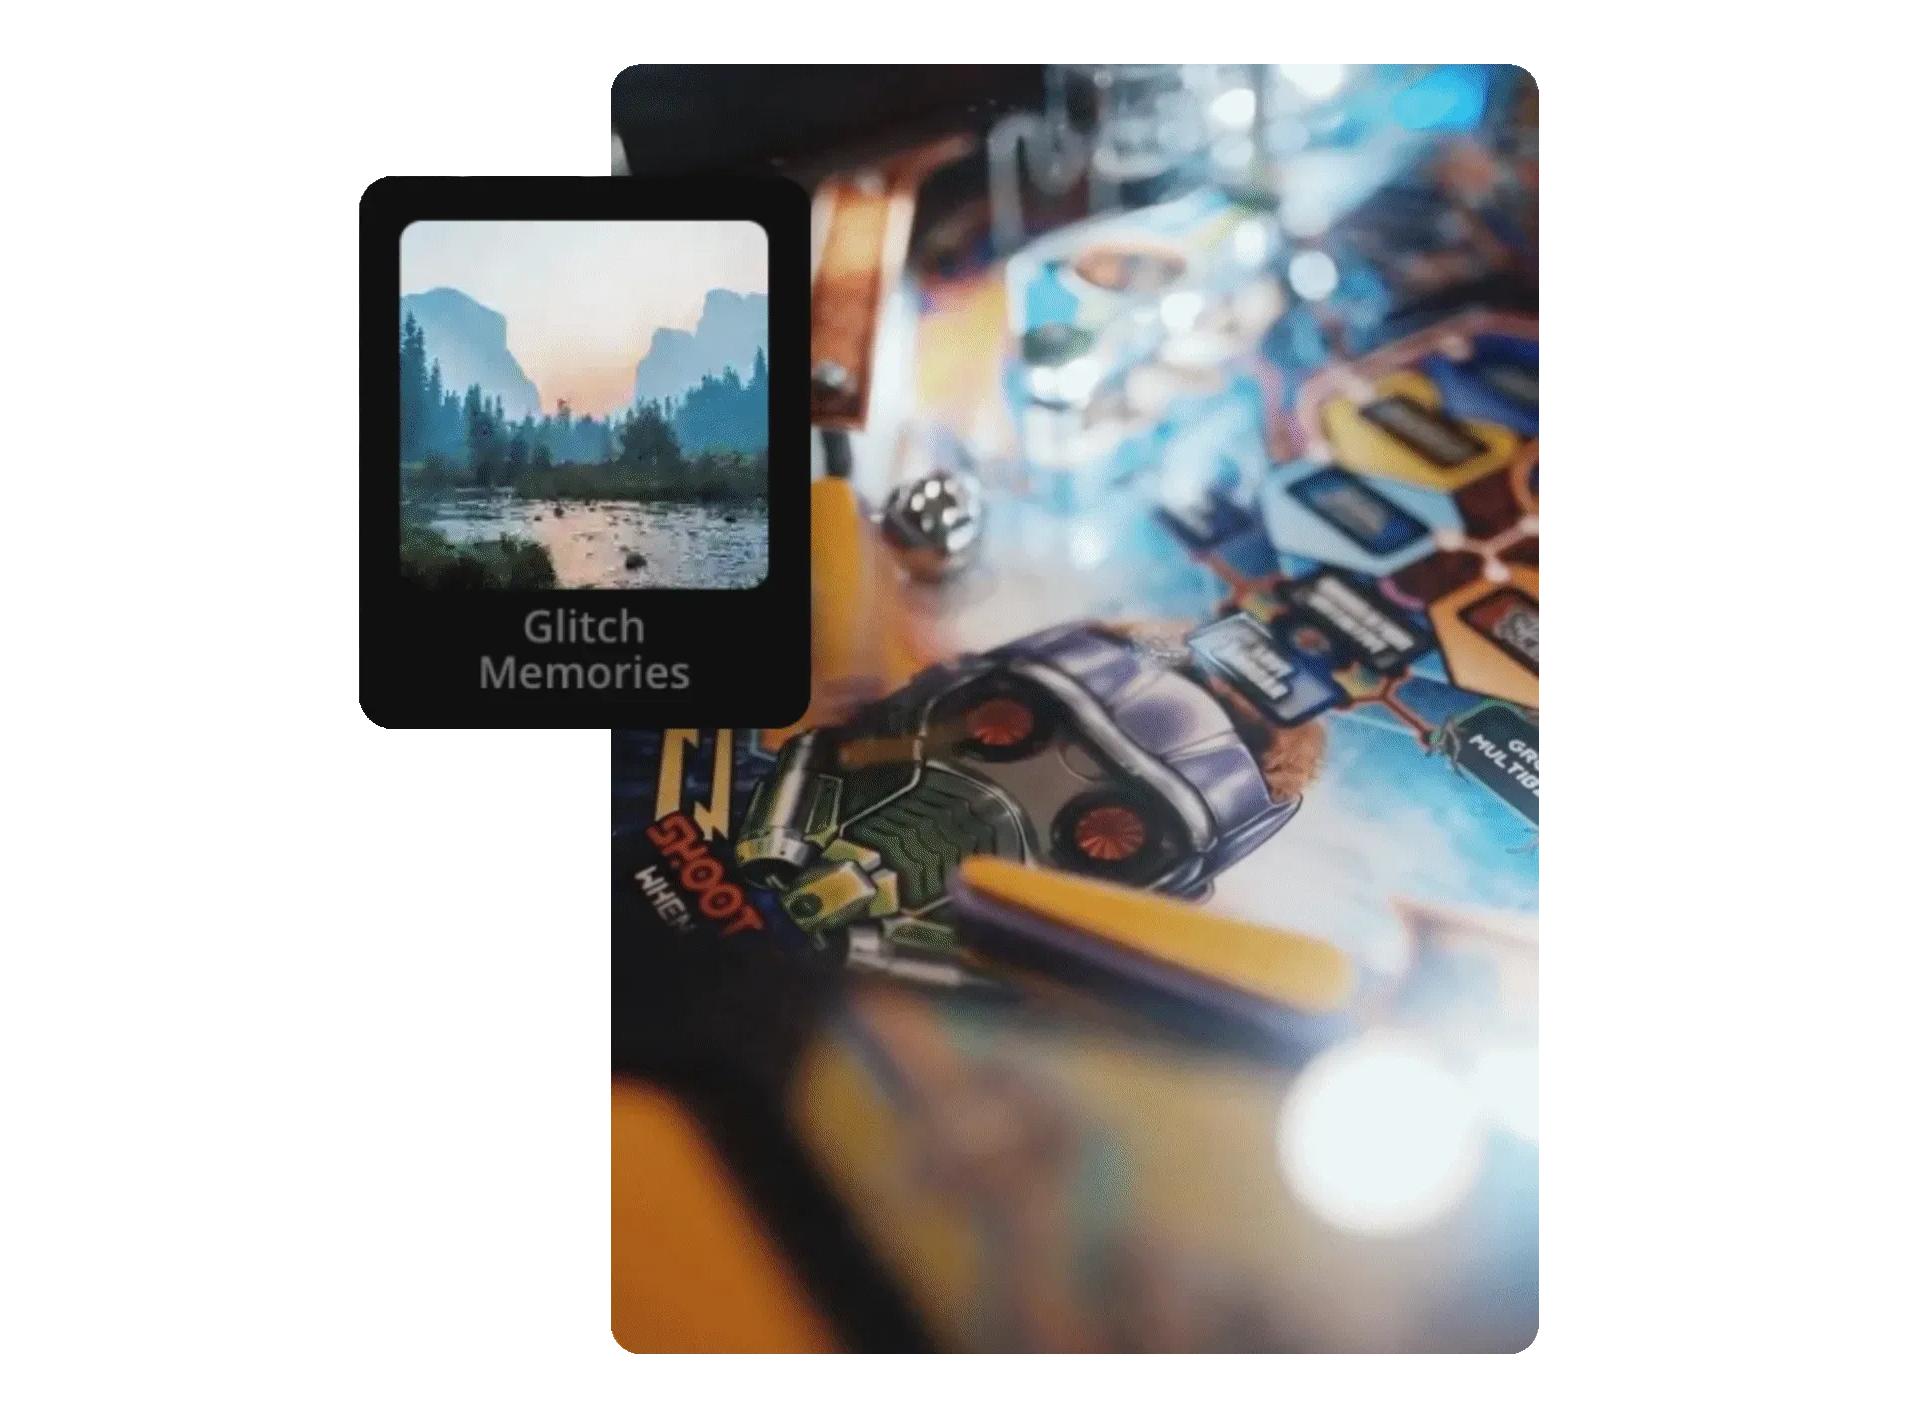
Kapwing’s Glitch Video Effect is located under the 'Transitions' tab and can be applied to the intro or outro of your video, adding an edgy, modern flair to your content.
Particles
This effect adds depth, motion, and texture to your videos, making it an excellent alternative to static video or image backgrounds.
Particle effects introduce dynamic elements like dust, sparks, embers, or snow that move naturally, creating a more immersive and interactive experience. While advanced use of particles is common in movies, even new video editors can use it to enhance the quality of their work.
Adobe Premiere Pro offers a wide range of particle effect variations, though they require more effort and fine-tuning than a simple one-click solution.
TV Static Effect
If you're looking to mimic the classic look of old television static then look no further than the Static Effect.
With just one click, you can create a flickering, grainy texture that transforms your video — perfect for horror, thriller, or nostalgic-themed projects.

Lens Flare
While adding lens flares to images is fairly common, incorporating them into video can be a bit more complex.
Many video editing platforms offer lens flare options, but we found Power Director to be one of the best choices for beginners. Its straightforward yet powerful lens flare tool allows you to add the effect with ease.
Explosions
Who doesn't love an explosion?
Digital explosions are a fun and dramatic way to add excitement to your content. Once reserved for action films, this effect has become popular among content creators to make videos more engaging — just think of MrBeast’s iconic explosion effects on YouTube.
You can find a variety of green screen explosion templates that can be uploaded to Kapwing for easy Chroma Key editing. Alternatively, Adobe Premiere Pro is a great place to explore advanced and more technical visual effects such as explosions.
Blur
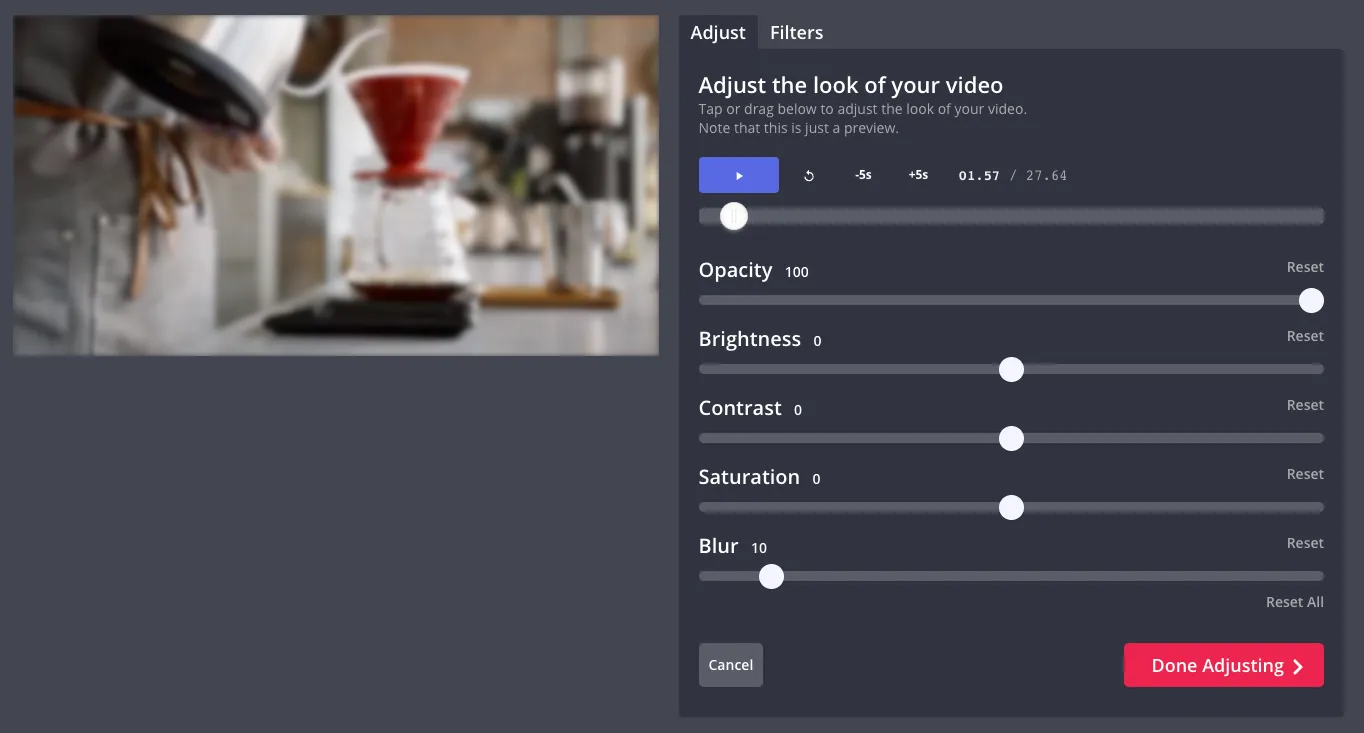
The blur video effect is a versatile tool, especially when it comes to replacing video backgrounds. By strategically blurring the background, you can draw attention to the main subject. This technique is often used in interviews, vlogs, and product demos to eliminate distractions and emphasize the key elements of the scene.
For beginners, editing platforms like Kapwing offer easy-to-use blur tools that allow you to control the intensity and style of the effect, giving you full creative control over how much emphasis you want on your subject.
Slow Motion
Adjusting video speed on Kapwing is incredibly simple. Head to the 'Edit' tab and use the Speed slider to slow down or speed up your video. The slow-motion effect can be applied to either the main object or the background footage, especially if you're using a transparent background, adding depth and drama to your content.
Filmmakers and videographers often use it in action sequences or emotional scenes to intensify the impact. For beauty and fashion influencers, slow motion can emphasize product applications or enhance the flow of clothing and hair.
For extra emphasis on key moments, you can use the 'Freeze Frame' feature under 'Timing' to pause the action and highlight crucial details.
Adding Animated Text and Subtitles
Text and subtitles may seem more functional than 'special'. However, when combined with eye-catching animations, they instantly make videos stand out.
These features are particularly useful when working with transparent backgrounds where no image or video backdrop is needed. You can layer your video with foreground objects, dynamic text, animated subtitles, shapes, custom emojis, or other elements to create a polished, engaging look.
Kapwing’s online editor also includes additional tools like auto-zoom, hue rotation, video filters, and split screen.
Thanks for reading! Subscribe to the Kapwing Resources library for more articles about how to navigate the changing landscape of social media using free online tools. Also, check out our post on editing techniques that everyone should learn to continue improving your skills.