How to Create a Family Tree for Free
Celebrate your family traditions and memories by creating your own family tree. In this tutorial, you will learn how to add photos, text, and images to create a unique gift!

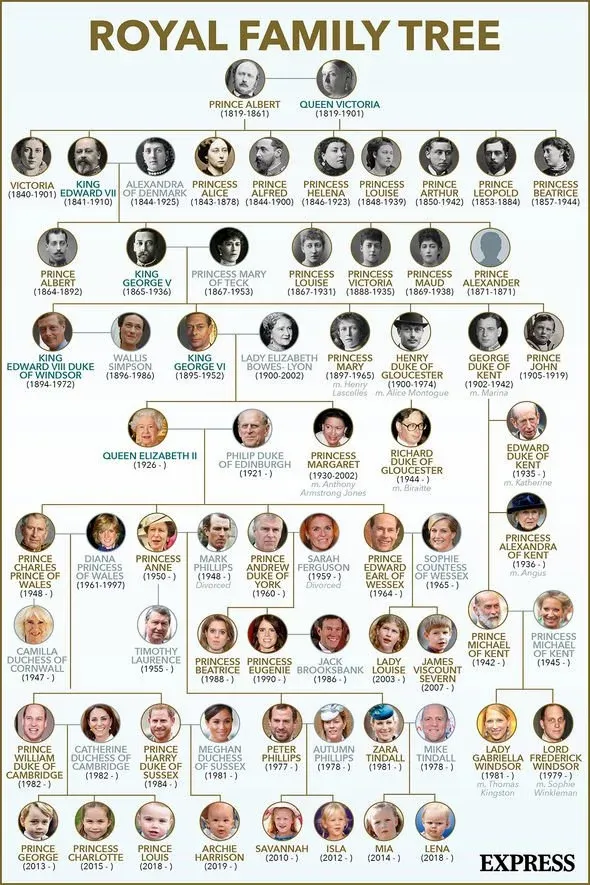
A family tree is a diagram showing the relationships between people in several generations of a family. Do you remember making a family tree for a school project when you were a kid? Cutting photos, using a 64-pack of Crayola crayons, and lots and lots of glue were all a part of my family tree creative experience. These diagrams were always a fun gift idea to give my mom for Mother's Day or for relatives to hang up on the refrigerator. Who says you can’t do the same today?
Nowadays, you can create a family tree with free generators, templates, or from scratch. I'll show you how to use any of these options online using Kapwing, where you can easily arrange and edit photos.
- Gather your photos and names
- Find a template or start from scratch
- Arrange your photos and names
- (Optional) Add a background, colors, or other images
- Save and share your family tree
Step 1: Gather your photos and names
There are many ways in which you can gather names and photos of your family. You can start by having a conversation with your close relatives such as your parents, siblings, aunts and uncles. Many websites also allow you to search your ancestry, historical records, and photos for free. A great place to start would be the U.S. Government Genealogy and Family History page, which provides census data from 1790 to 1940! Other government archives can help you filter your search by ethnic heritage, but is limited to six ethnic heritages at the moment.
Examples of well-done family trees comes from an extensive amount of information and research about people in your family such as when they were born, where they lived, in what part of the country, who they were married to, etc.

For this tutorial, I’m going to be creating a family tree using The Pearson family from the show This Is Us. I gathered photos from Google, renamed each photo, and saved them into a folder on my computer.
Step 2: Find a template or start from scratch
Go to kapwing.com in your browser and click Start Editing to enter the Kapwing Studio. Select Start with a blank canvas and go to Images. Search for “Family Tree Template” or be specific and search “Family Tree Template 5 Members”. Once you find a template you like, select it and wait for the image to load.
To start from scratch, click Start Editing, select Start with a blank canvas and you can adjust the canvas size by going to the right-hand side panel and choosing one of the options. You can also type a custom size if you know how large you want your family tree to be.
Step 3: Arrange your photos and names
Begin adding images by dragging and dropping them into the workspace. Use the Zoom tool on the right-hand side panel to reduce or enlarge your photo. Circle crop your photo by using the Corner slider and drag it to the right, then click on your photo and use the purple corner to adjust the photo into the template.
Add names to your family tree to easily identify members of your family. To do this, select Text, type a name and drag the text anywhere on your family tree.
If you are starting from scratch, include lines to show the connection between family members by selecting Elements, then Line. Adjust the line width and length by dragging the ends then place it in between each photo. You can change the color of the lines to indicate if two people are married, divorced, or in a relationship.
Step 4: (Optional) Add a background, colors, or other images
You can add a background, colors, or images to represent your family traditions or some of the activities you enjoy doing together. To change the background color, go to Background on the bottom of the right-hand side panel and select a color.
Go to Images and search for pictures to put around your family tree. The Pearsons are from Pittsburg and love football, so I added images that represented their traditions.
Step 5: Save and share your family tree
After you’ve added your finishing touches, click Export as Image, wait a few moments and you’ll be taken to the Download page where you can save your image. Now you can distribute and print your family tree to share with your loved ones.
I hope that this article helps you celebrate your family history and traditions. Don’t forget to tag us @KapwingApp and share your final projects with us - we love supporting our creators! Also, visit our YouTube channel every week for new tutorials.
Related Articles:


