How to Edit Pictures on a Mac
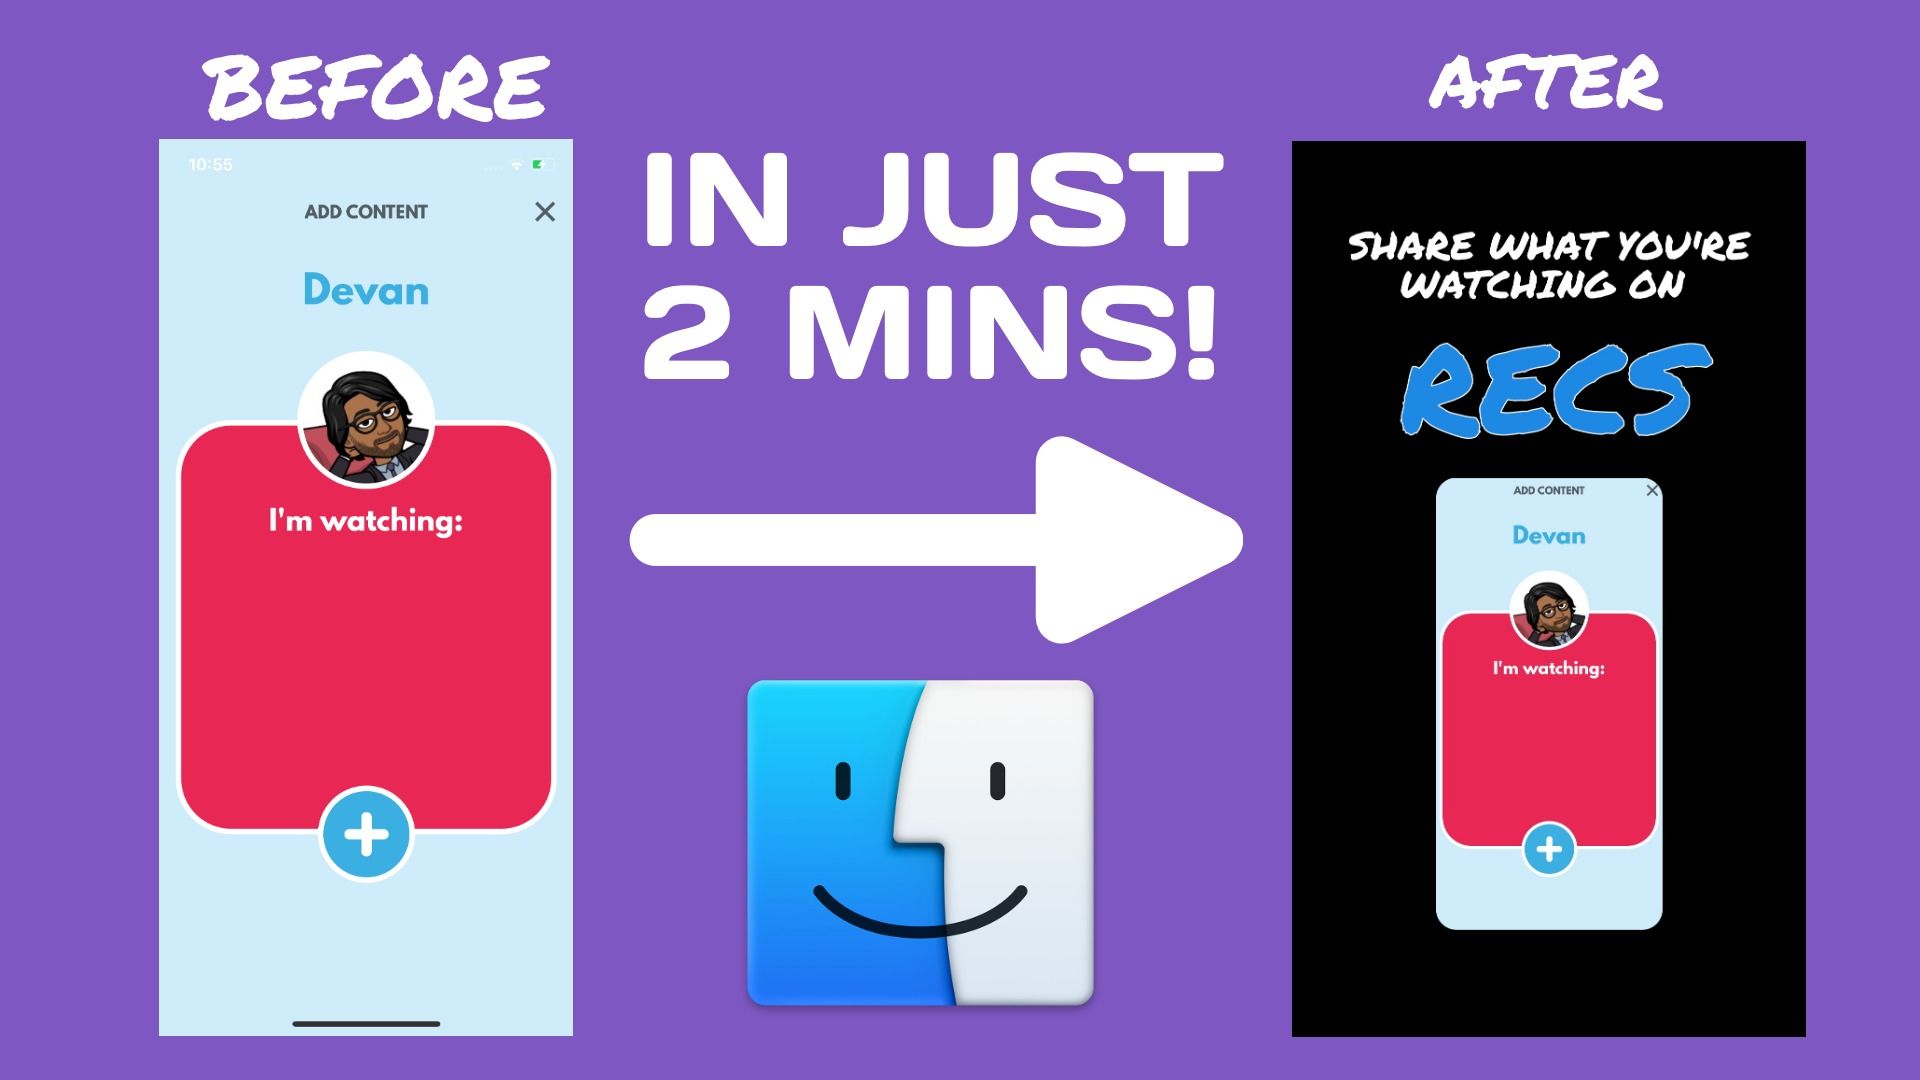
Truly editing multiple aspects of a photo can be tedious on a Mac. In this tutorial, I'm going to show you a fool-proof way to start editing content on a Mac that doesn't require you to download any external software.

Don't get me wrong, I have been using a Mac for years and love pretty much everything about them. However, Mac's built-in photo editing tools can't get you very far, and truly editing multiple aspects of a photo can be tedious and require multiple expensive applications. Products like Photoshop require software updates and it can be really difficult to make (what should be) easy edits, so what about an easy editor for Mac users?
In this tutorial, I'm going to show you a fool-proof way to start editing content on a Mac that doesn't require you to download any external software. The only things you'll need to get started are an internet browser (like built-in Safari or Chrome) and the piece(s) of content you want to edit! Here are the steps we're following:
- Gather your content
- Upload to web-based Kapwing
- Make easy edits using their tools
1. Gather your Content
I like to put all my content in one folder before I start – it makes all my assets easy to find and work with. For Mac users, you can create a new folder on your desktop and store all your files in there for easy access. To do this, go to your desktop and click 'File' > 'New Folder,' then drag and drop your files into the folder. Once you have all your content in one place, you can move onto the next step. For this example, I'm going to edit a screenshot of an iPhone app with multiple transformations.
2. Upload to Kapwing
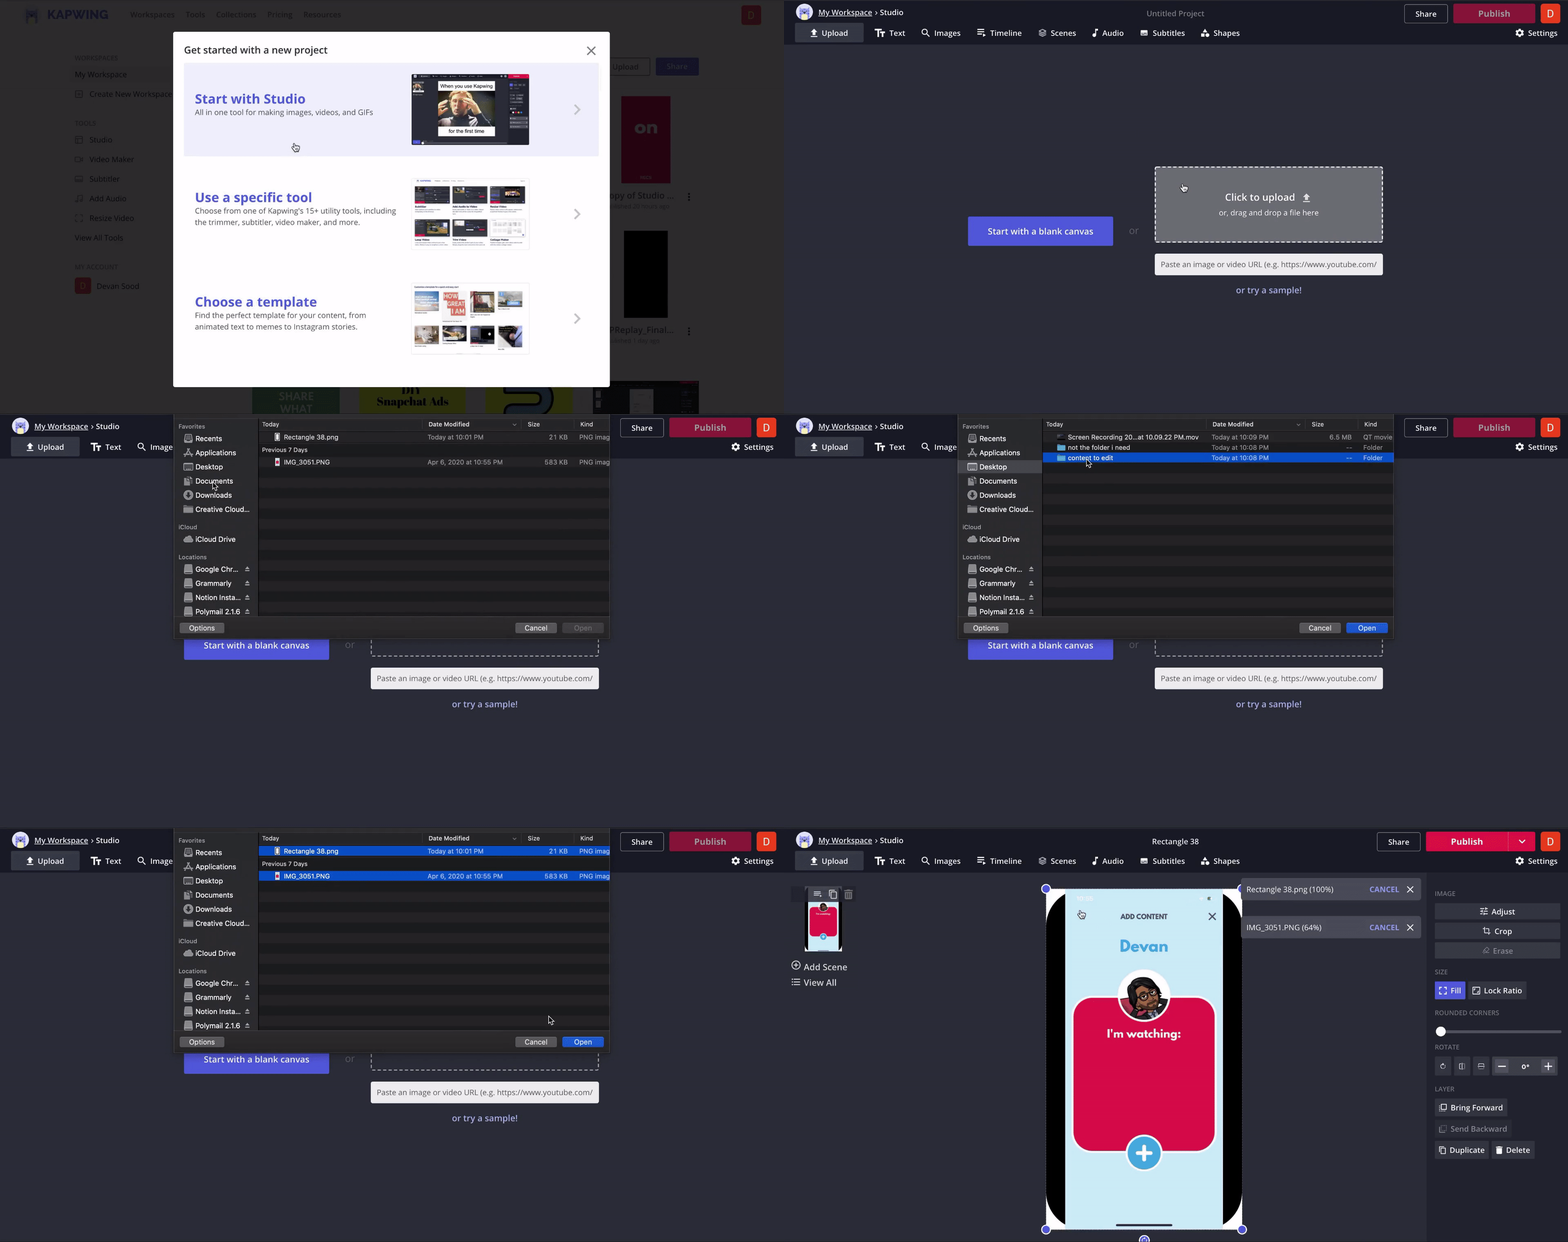
Kapwing is a web-based content editing tool that will work flawlessly on Macs. Open your web browser of choice, open the Kapwing Studio, click 'Click to Upload,' and find your files. If you followed the folder instructions from part 1, the file should be locatable by selecting 'Desktop' and double-clicking your new folder. Here's what this step should look like:

3. Make Your Edits!
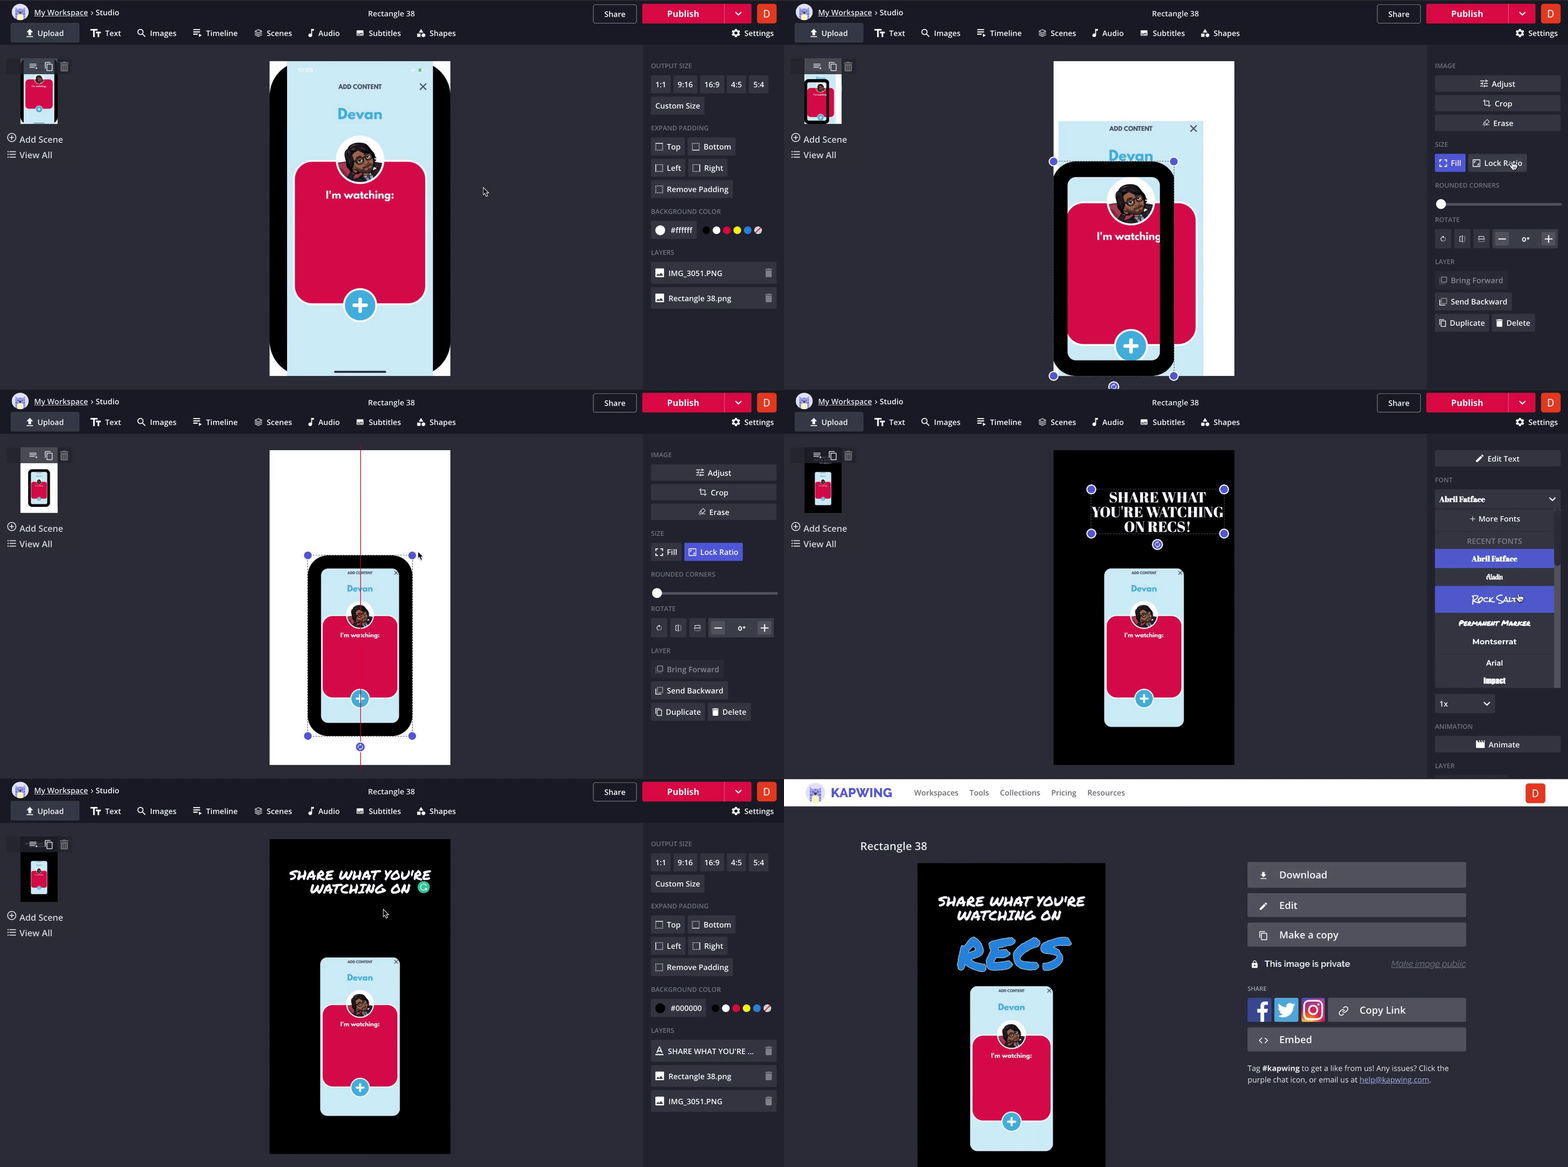
Kapwing makes it super easy to make edits that look great. For this example, I'm going to crop the photo, add an overlaying photo, change the background color, and add some fun text. They also have awesome photography tools like adjusting the brightness, adding a blur, and even adding filters like grayscale. It sounds like all these edits should take a long time, but their tutorials make it so easy that I finished my whole piece in under two minutes! Here's what this step looked like for me sped up:


Yup - I made that with Kapwing too! They have a bunch of awesome tools that you can use for FREE! Here are some other Kapwing tutorials that might be helpful:


