How to Get CapCut Caption Styles (And Best Alternatives)
80% of viewers are more likely to finish a video with captions

Captions play a vital role in video success, and for good reason. Research shows that videos with captions not only see increased engagement but also higher viewer retention. This is especially true for professional content creators and brand marketers looking to stand out in a crowded digital space. Beyond boosting engagement, captions also offer SEO benefits, helping search engines like Google rank your videos higher and making them more discoverable.
CapCut has become a favorite among creators for its combination of advanced video editing tools and automatic captions that are both clear and visually engaging. Its captions are known for their ease of use, high visibility, and sleek styling, making them a go-to for editors looking to boost content quality and viewer retention.
As a result, many creators are searching for ways to replicate the CapCut caption style without relying on the app itself. In this article, we’ll break down what makes CapCut captions so effective and show you how to create similar styles for free, without needing to download CapCut. Keep reading for practical tips to level up your next video.
Table of Contents
- What Are the Most Popular CapCut Caption Styles?
- How to Get CapCut Style Captions
- Simple Ways to Make Your Captions Stand Out
What are the Most Popular CapCut Caption Styles?
CapCut caption styles have gained significant popularity on TikTok, thanks to the app’s seamless integration and mobile-first design. These high-contrast, easy-to-read captions are also widely used on platforms like YouTube Shorts and Instagram Reels, where clear, legible text is crucial for viewer engagement.
After reviewing a range of CapCut-edited content, several distinct caption styles emerged, each suited to different types of video content.
Below, we’ll break down the most common styles and how they enhance visibility, pacing, and tone across formats.
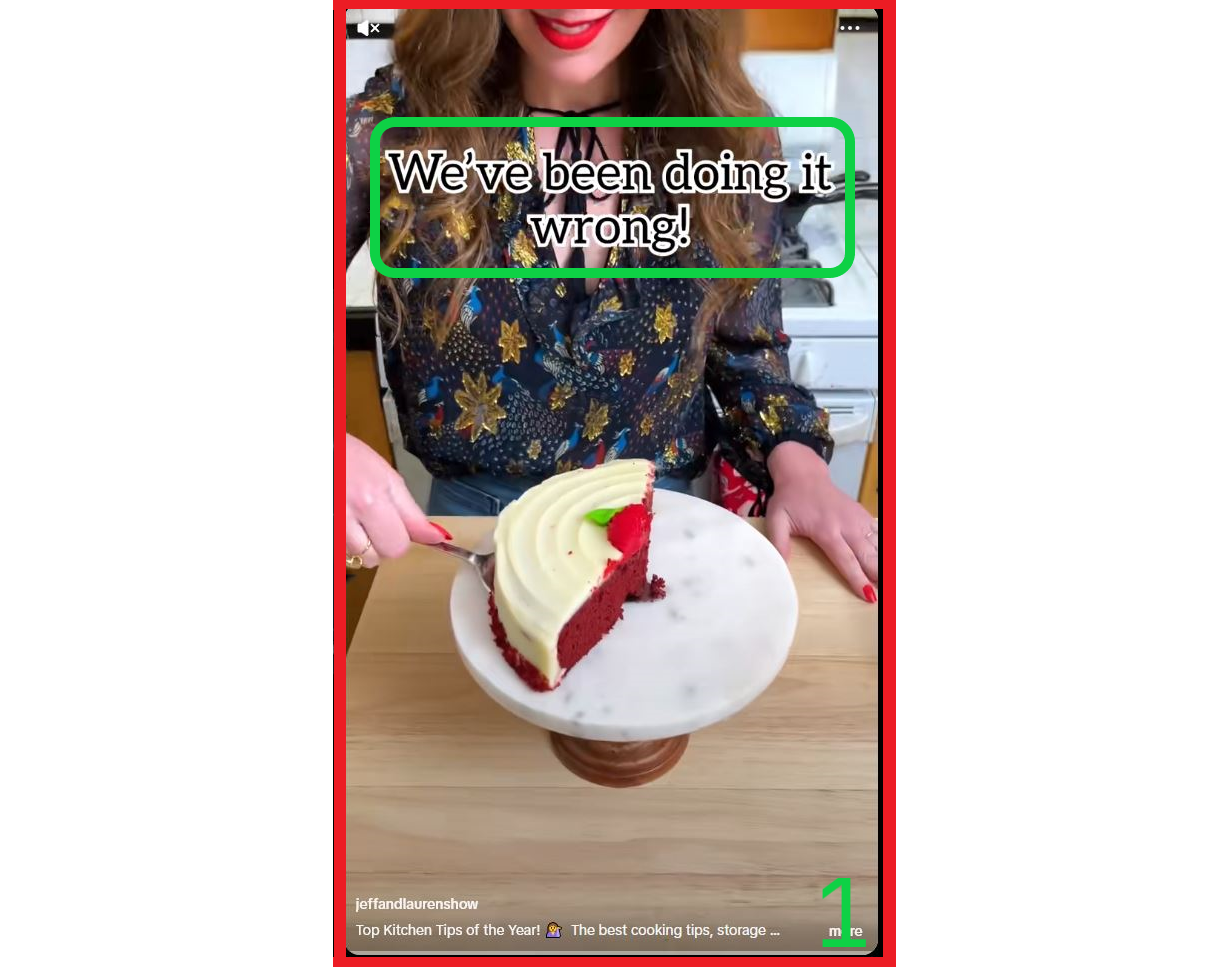
1. Bold Text with High-Contrast Outline
This style features bold text surrounded by a high-contrast outline or stroke.
The bold text ensures readability, while the outline or stroke helps the captions stand out against varying background colors or video content.
This style is especially useful for dynamic videos with a lot of movement or colorful backgrounds, ensuring the captions remain visible throughout the video.
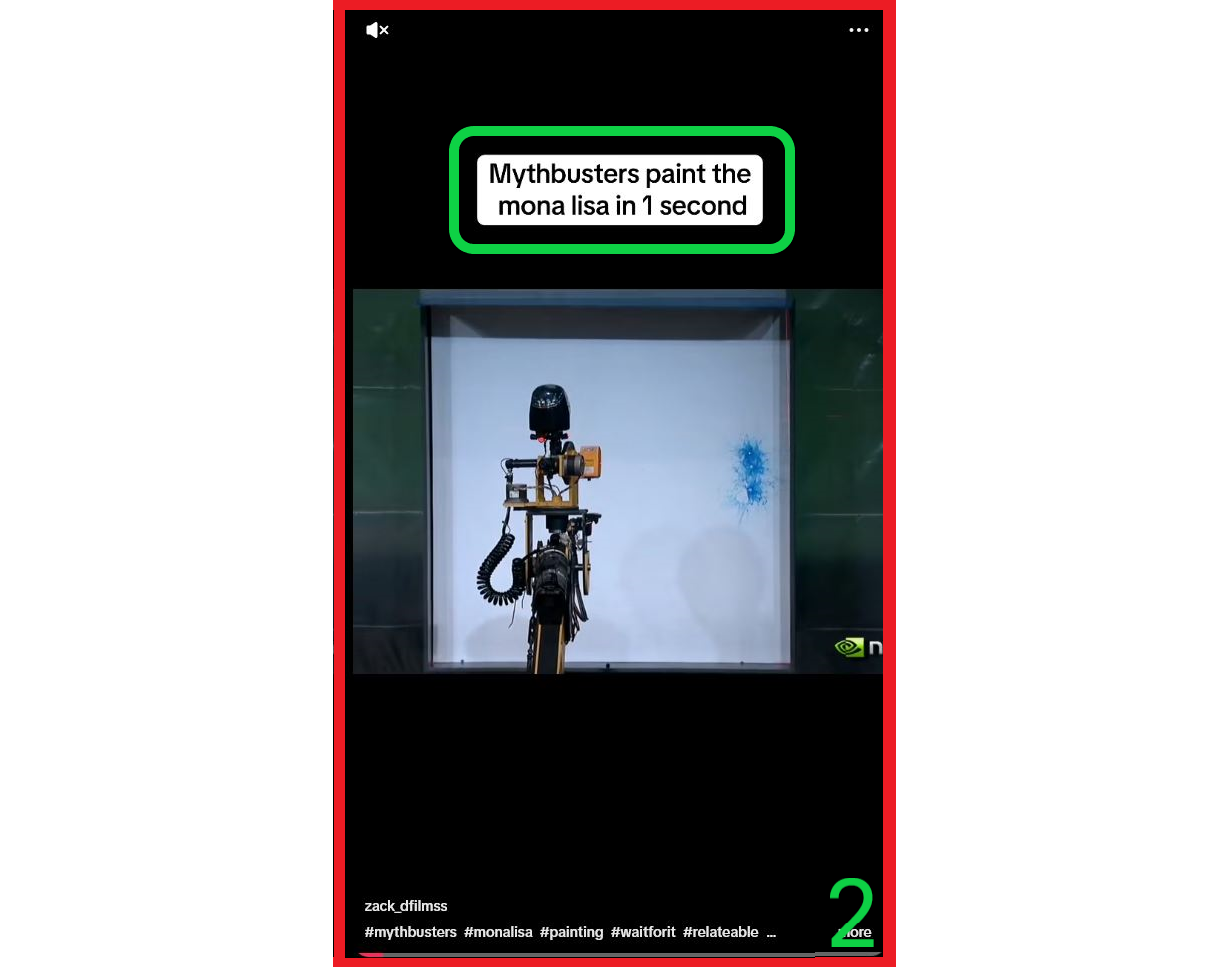
2. Text in a Solid-Color Textbox
This style involves placing the text within a solid-color textbox.
It’s effective for videos with more complex or cluttered backgrounds, as the solid box ensures the text remains readable regardless of what’s happening in the background.
This is commonly used for instructional or tutorial content, where clarity is crucial for comprehension.
3. Bold Text with Outline and Active Text Highlight
This style combines bold text with an outline or stroke and highlights specific words in real time.
The highlight emphasizes spoken words as they occur in the video, which aids in pacing and offers better accessibility for viewers relying on subtitles.
It can significantly improve viewer engagement, especially when the captions sync up with key moments in the video, enhancing both the viewer experience and the understanding of the content.

While these three styles differ physically, they also serve distinct purposes.
The first two styles are relatively simple to add while manually editing. However, the third style, with real-time text highlighting, often requires more advanced tools, such as an automatic caption generator.
Caption Placement — Safe Zones
In addition to choosing a caption style, caption placement is another important consideration. While CapCut doesn’t offer templates to help avoid caption overlap with platform interfaces, free editors like Kapwing allow you to confidently position captions without worrying about them being obstructed once your video is uploaded.
To use Safe Zone templates in Kapwing, select the background of your project and navigate to the Safe Zones tool on the right-hand side of the editor.
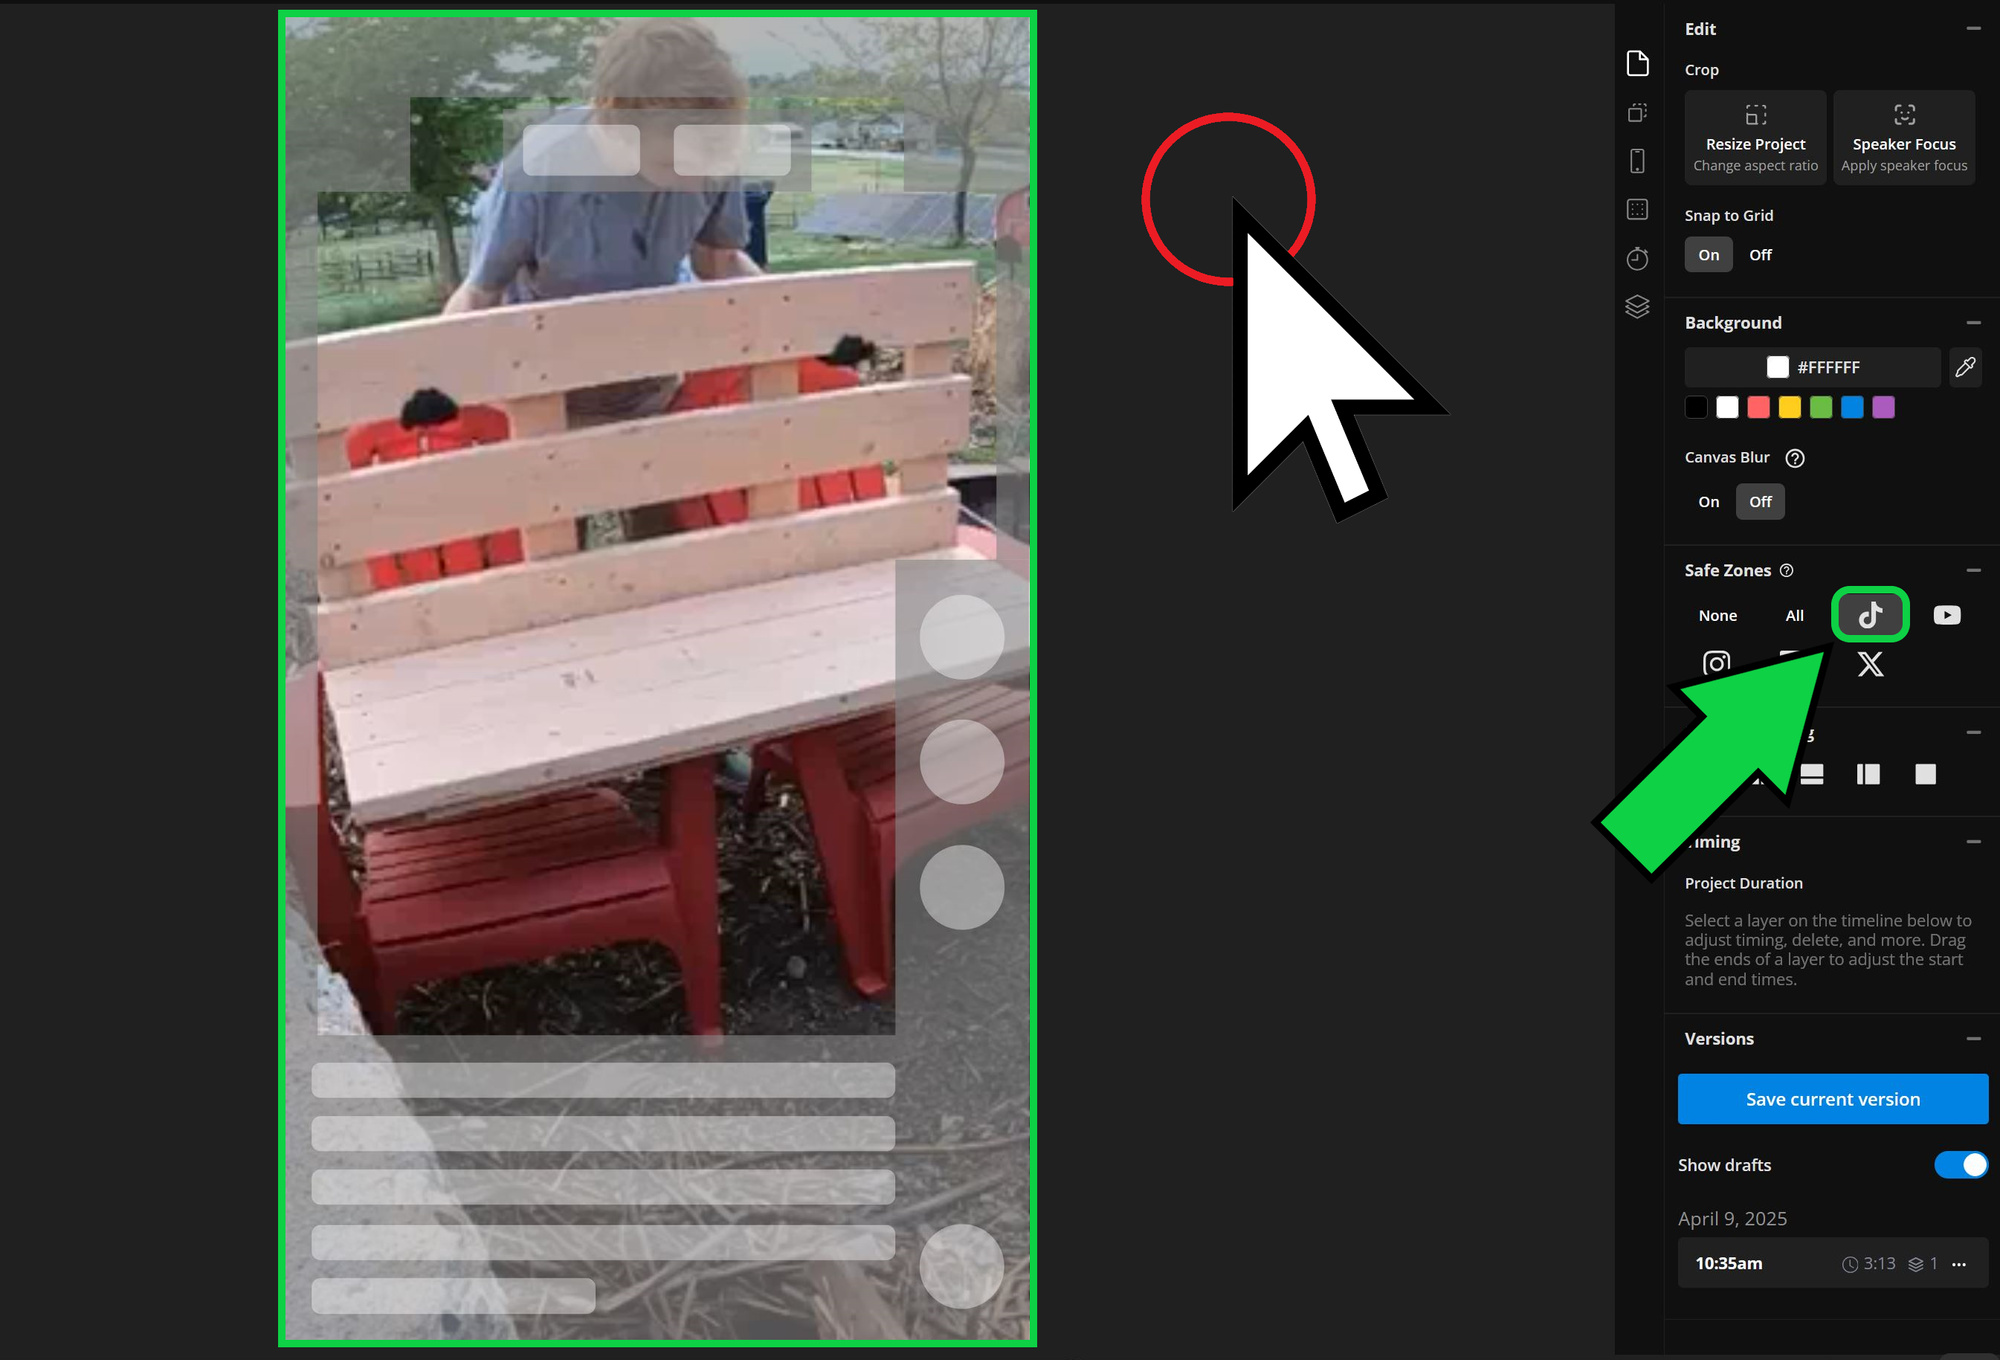
Once activated, a safe zone template will overlay on your video, showing you where it’s safe to place captions and where they might be obstructed by platform interfaces.
Video captions are crucial for keeping viewers engaged. In fact, a 2025 study found that 80% of viewers are more likely to finish a video when captions are included.
So, how can you create captions that match the popular CapCut style?
How to Get CapCut Style Captions
While platforms like TikTok, Instagram, and YouTube offer built-in captioning tools, they often come with limited editing flexibility — especially when it comes to customizing styles or exporting captions for use elsewhere.
For more control, an AI Caption Generator is a better option. It lets you quickly add captions to any video, experiment with different styles, and make precise edits, all without being locked into one platform.
You can easily toggle between formats and reuse captions across multiple channels, saving time while keeping your content consistent and polished.
Automatic Caption Generators save editing time and produce professional visuals to help your viewers follow along.
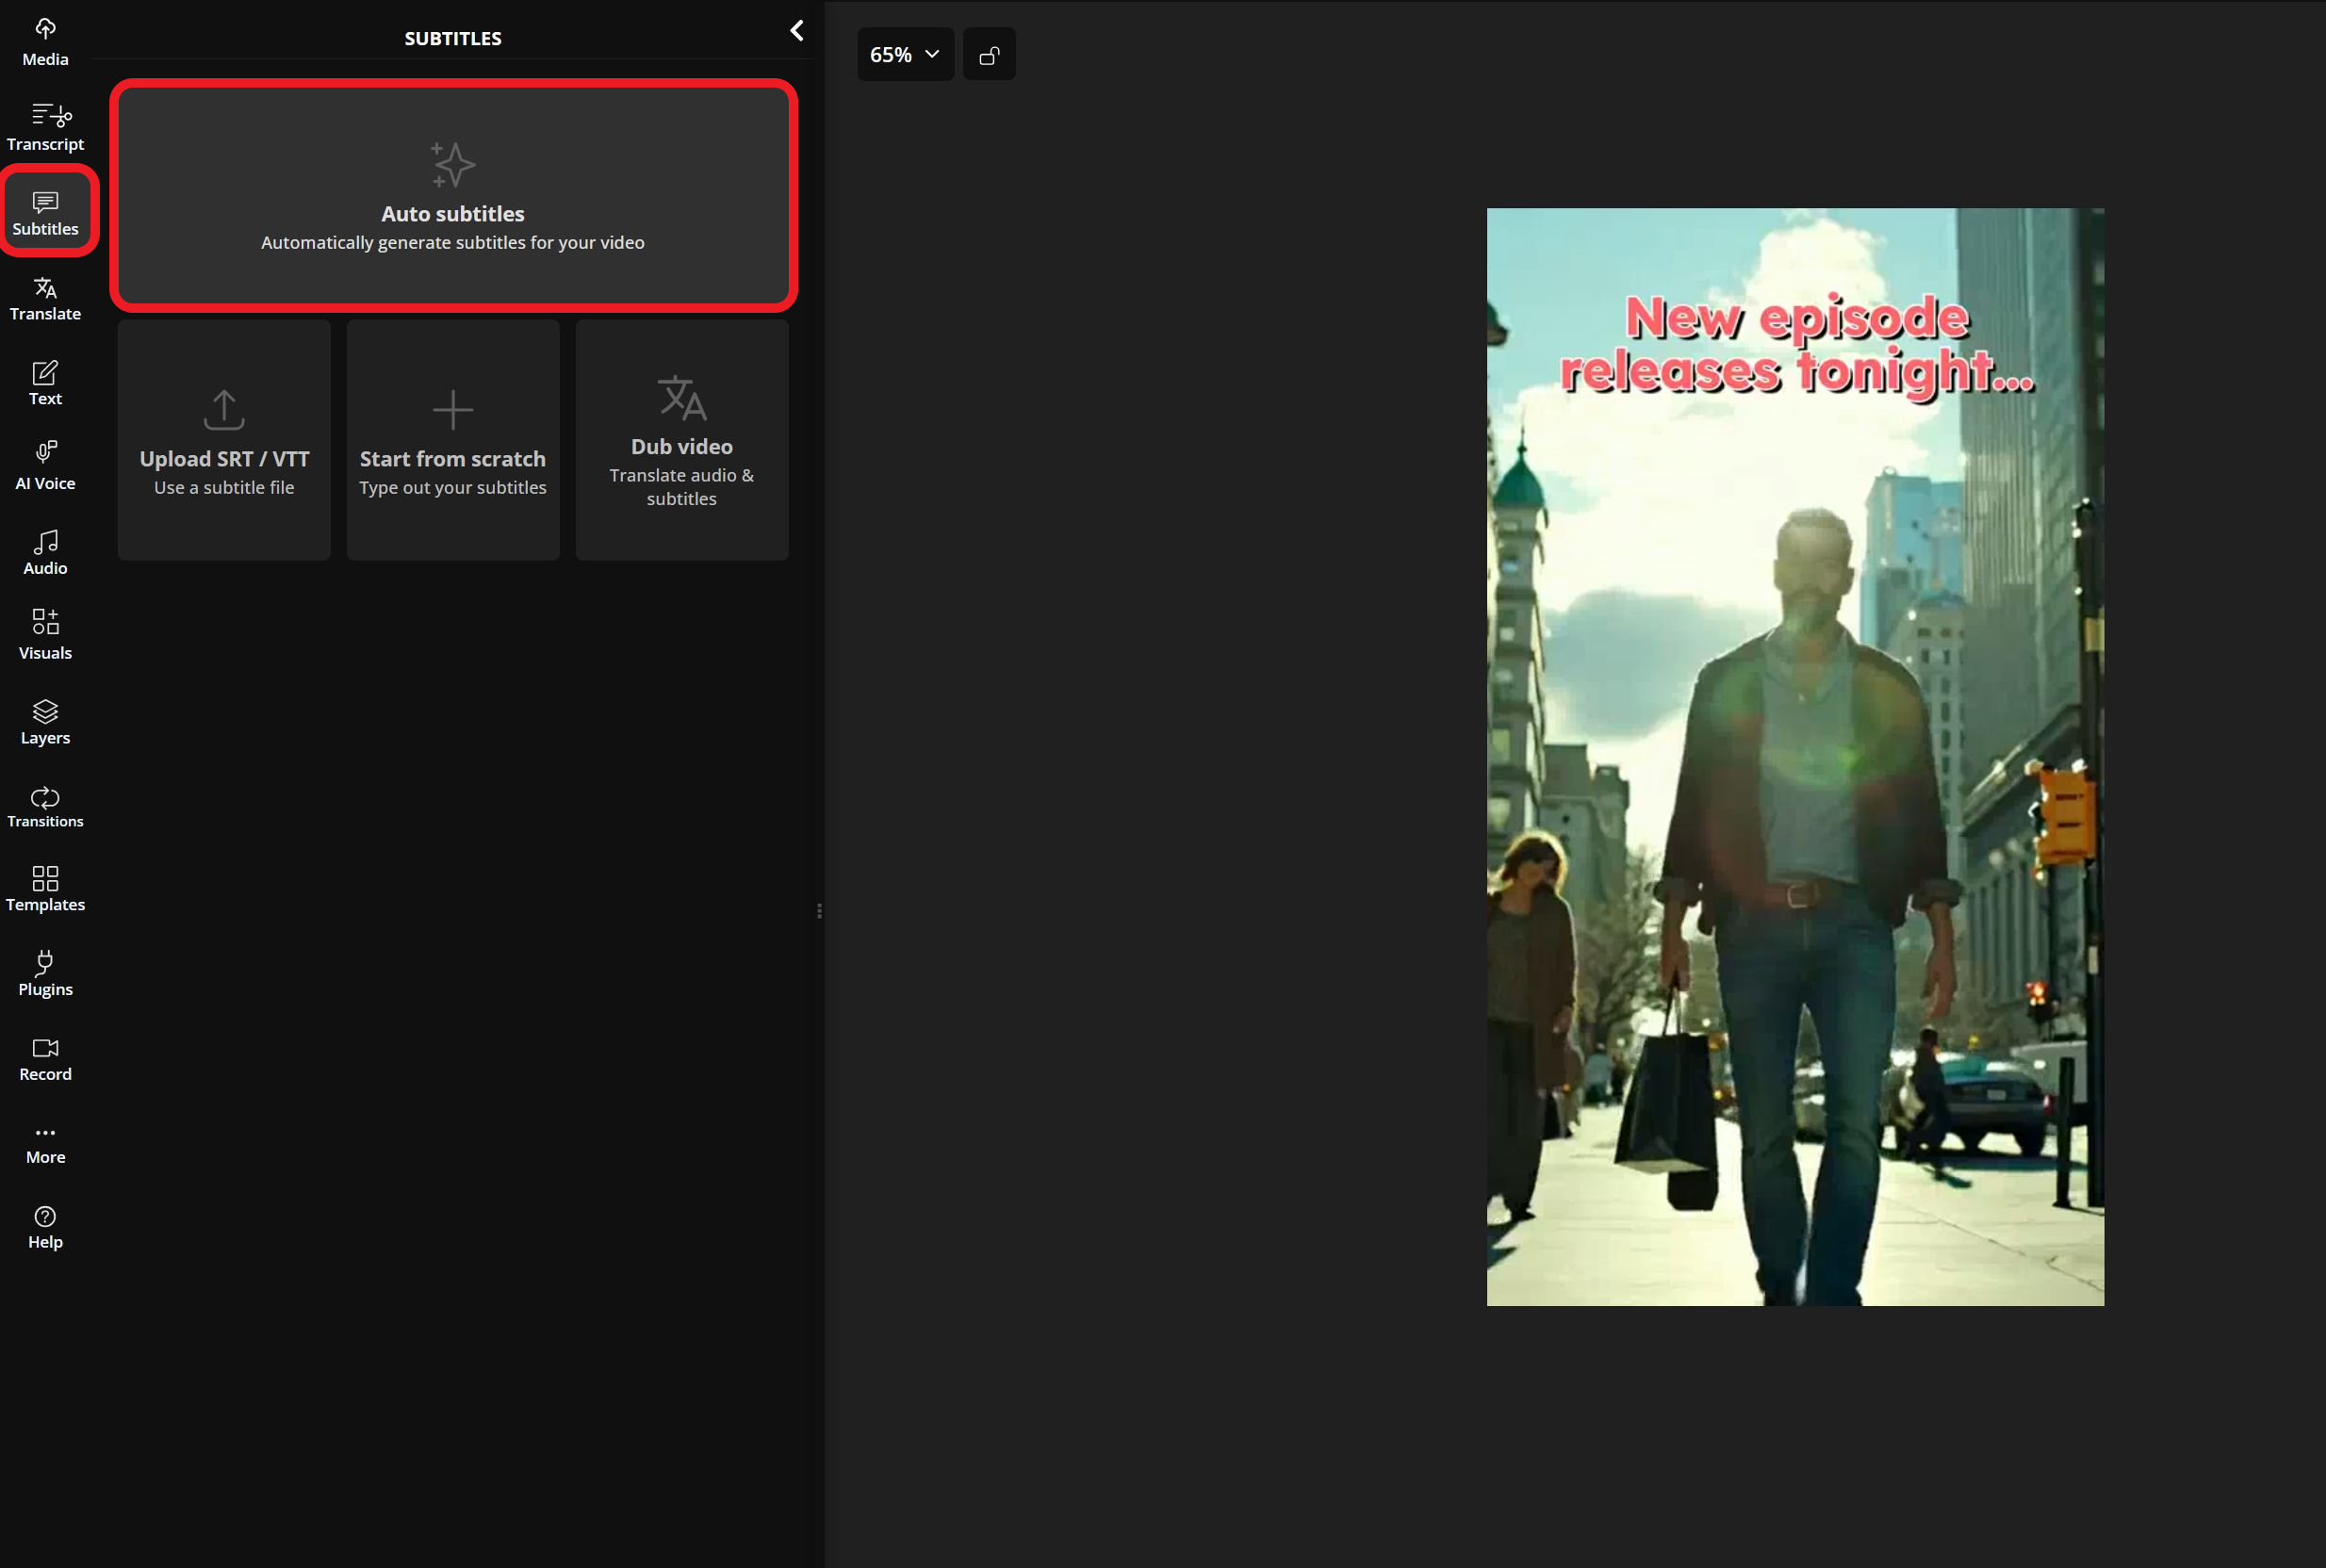
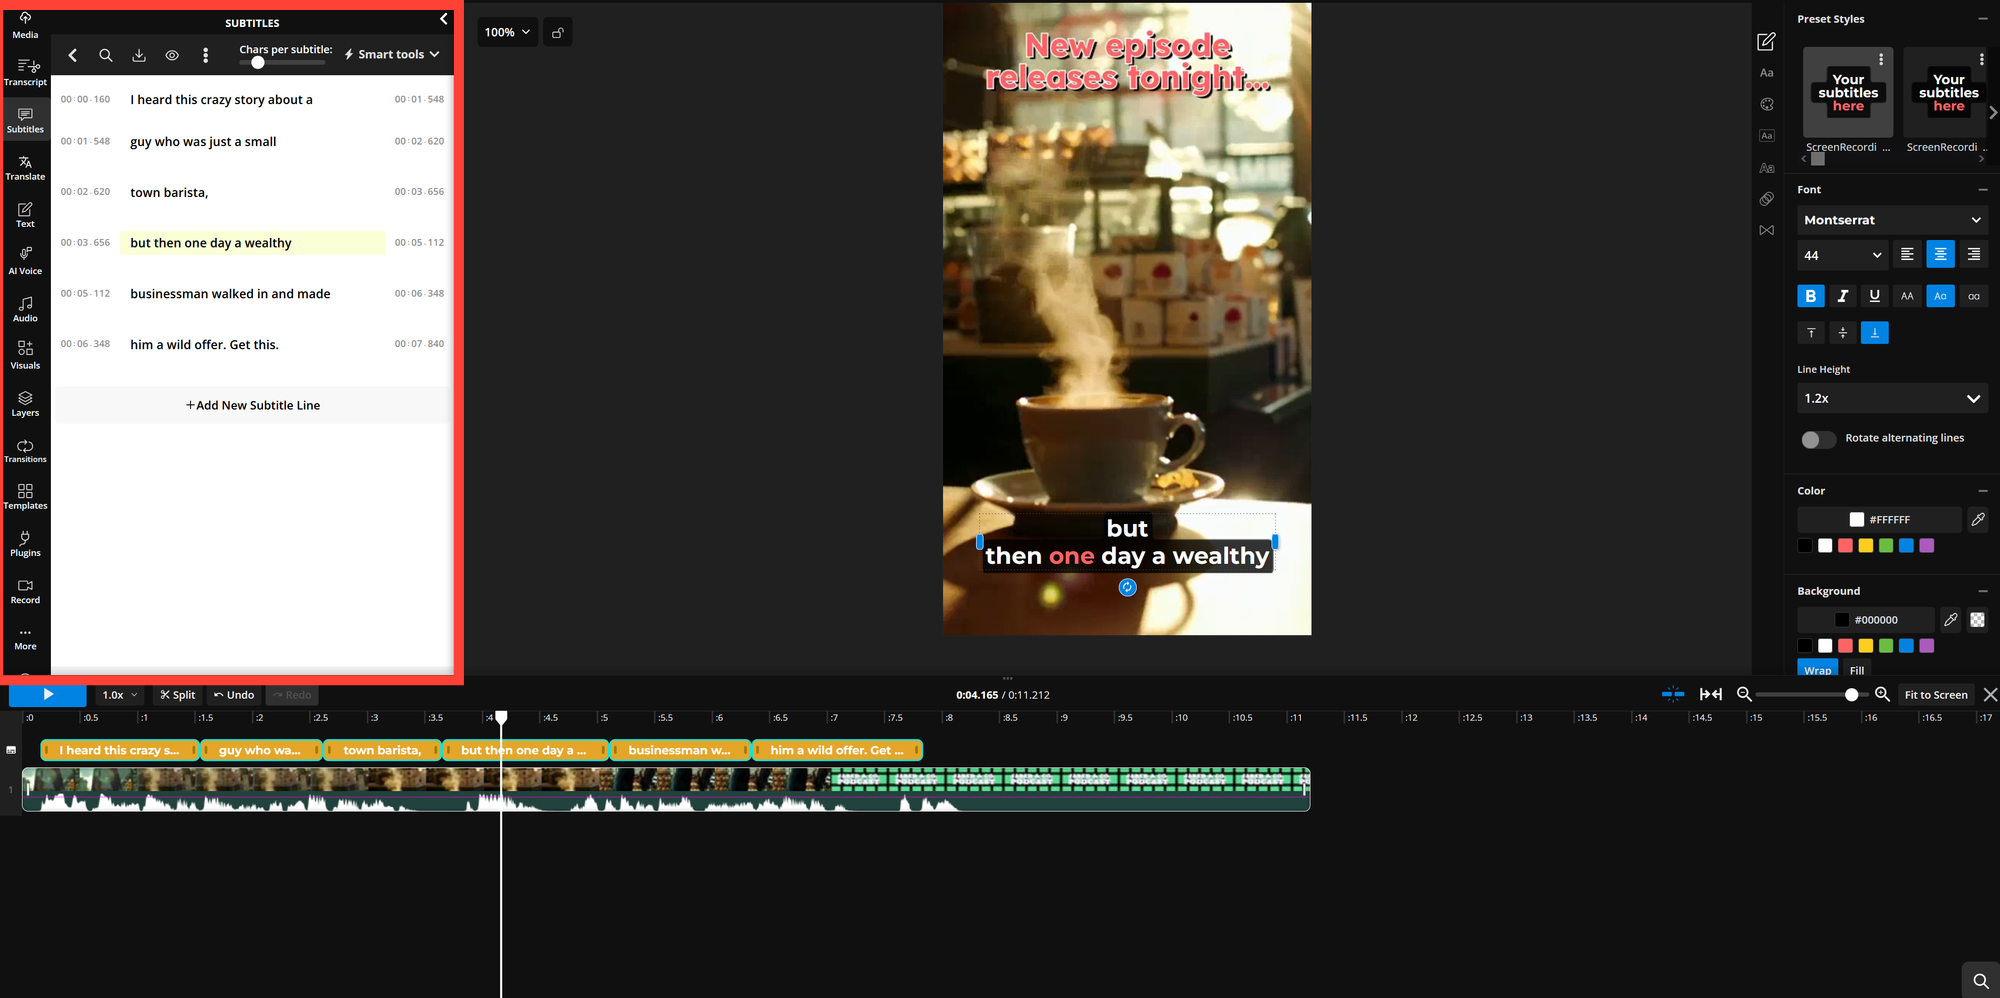
To create CapCut-style captions, start by uploading your media to the Kapwing online editor and navigate to the Subtitles menu in the left-hand sidebar.
This will open several options, including automatic captioning or uploading a subtitle file like SRT or VTT.
To generate captions automatically, simply click Auto Subtitles. The tool will create CapCut-style captions that are automatically synced to your video’s audio and aligned within the timeline.
Once generated, you can adjust your captions using the Subtitles menu.
This allows you to modify spelling, punctuation, and line spacing for improved readability.
For cleaner, less cluttered captions, ensure that each sentence is placed on its own line, making it easier for viewers to follow the text.
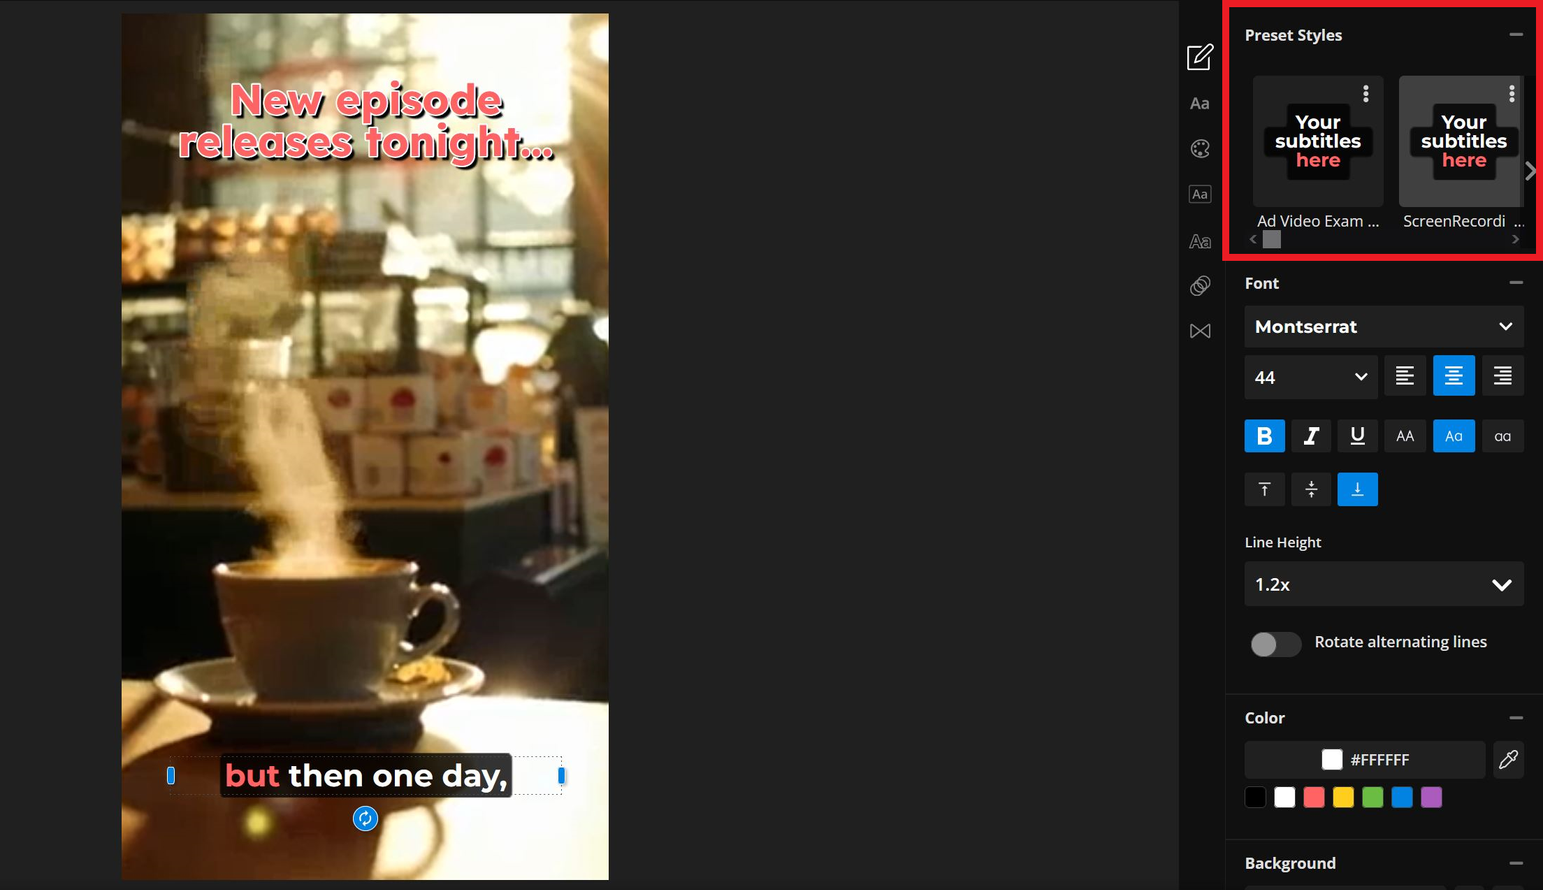
On the right side of the editor, you'll find additional editing tools to customize your captions.
You can adjust the font, color, animations, and more.
To automatically apply an entirely new caption style, select from any of the preset styles at the top of the editing tools. This is a great way to quickly compare different caption styles or gain inspiration for designing your own.
In addition to the preset styles, here are a few editing tools I personally recommend for creating the most like-for-like, CapCut captions:
1. Font
The font you choose sets the tone for your video. For playful or lighthearted videos, opt for bold, rounded fonts like Comic Neue or Poppins, which feel more casual and friendly.
For educational, news-style, or professional content, go with clean sans-serif fonts like Inter, Helvetica, or Roboto, which offer a more polished, neutral tone. Regardless of the style, prioritize readability with strong contrast and consistent sizing — especially for mobile viewers.
To change your font, use the Font dropdown menu. Kapwing also allows you to upload custom fonts if you need to replicate a particular style.

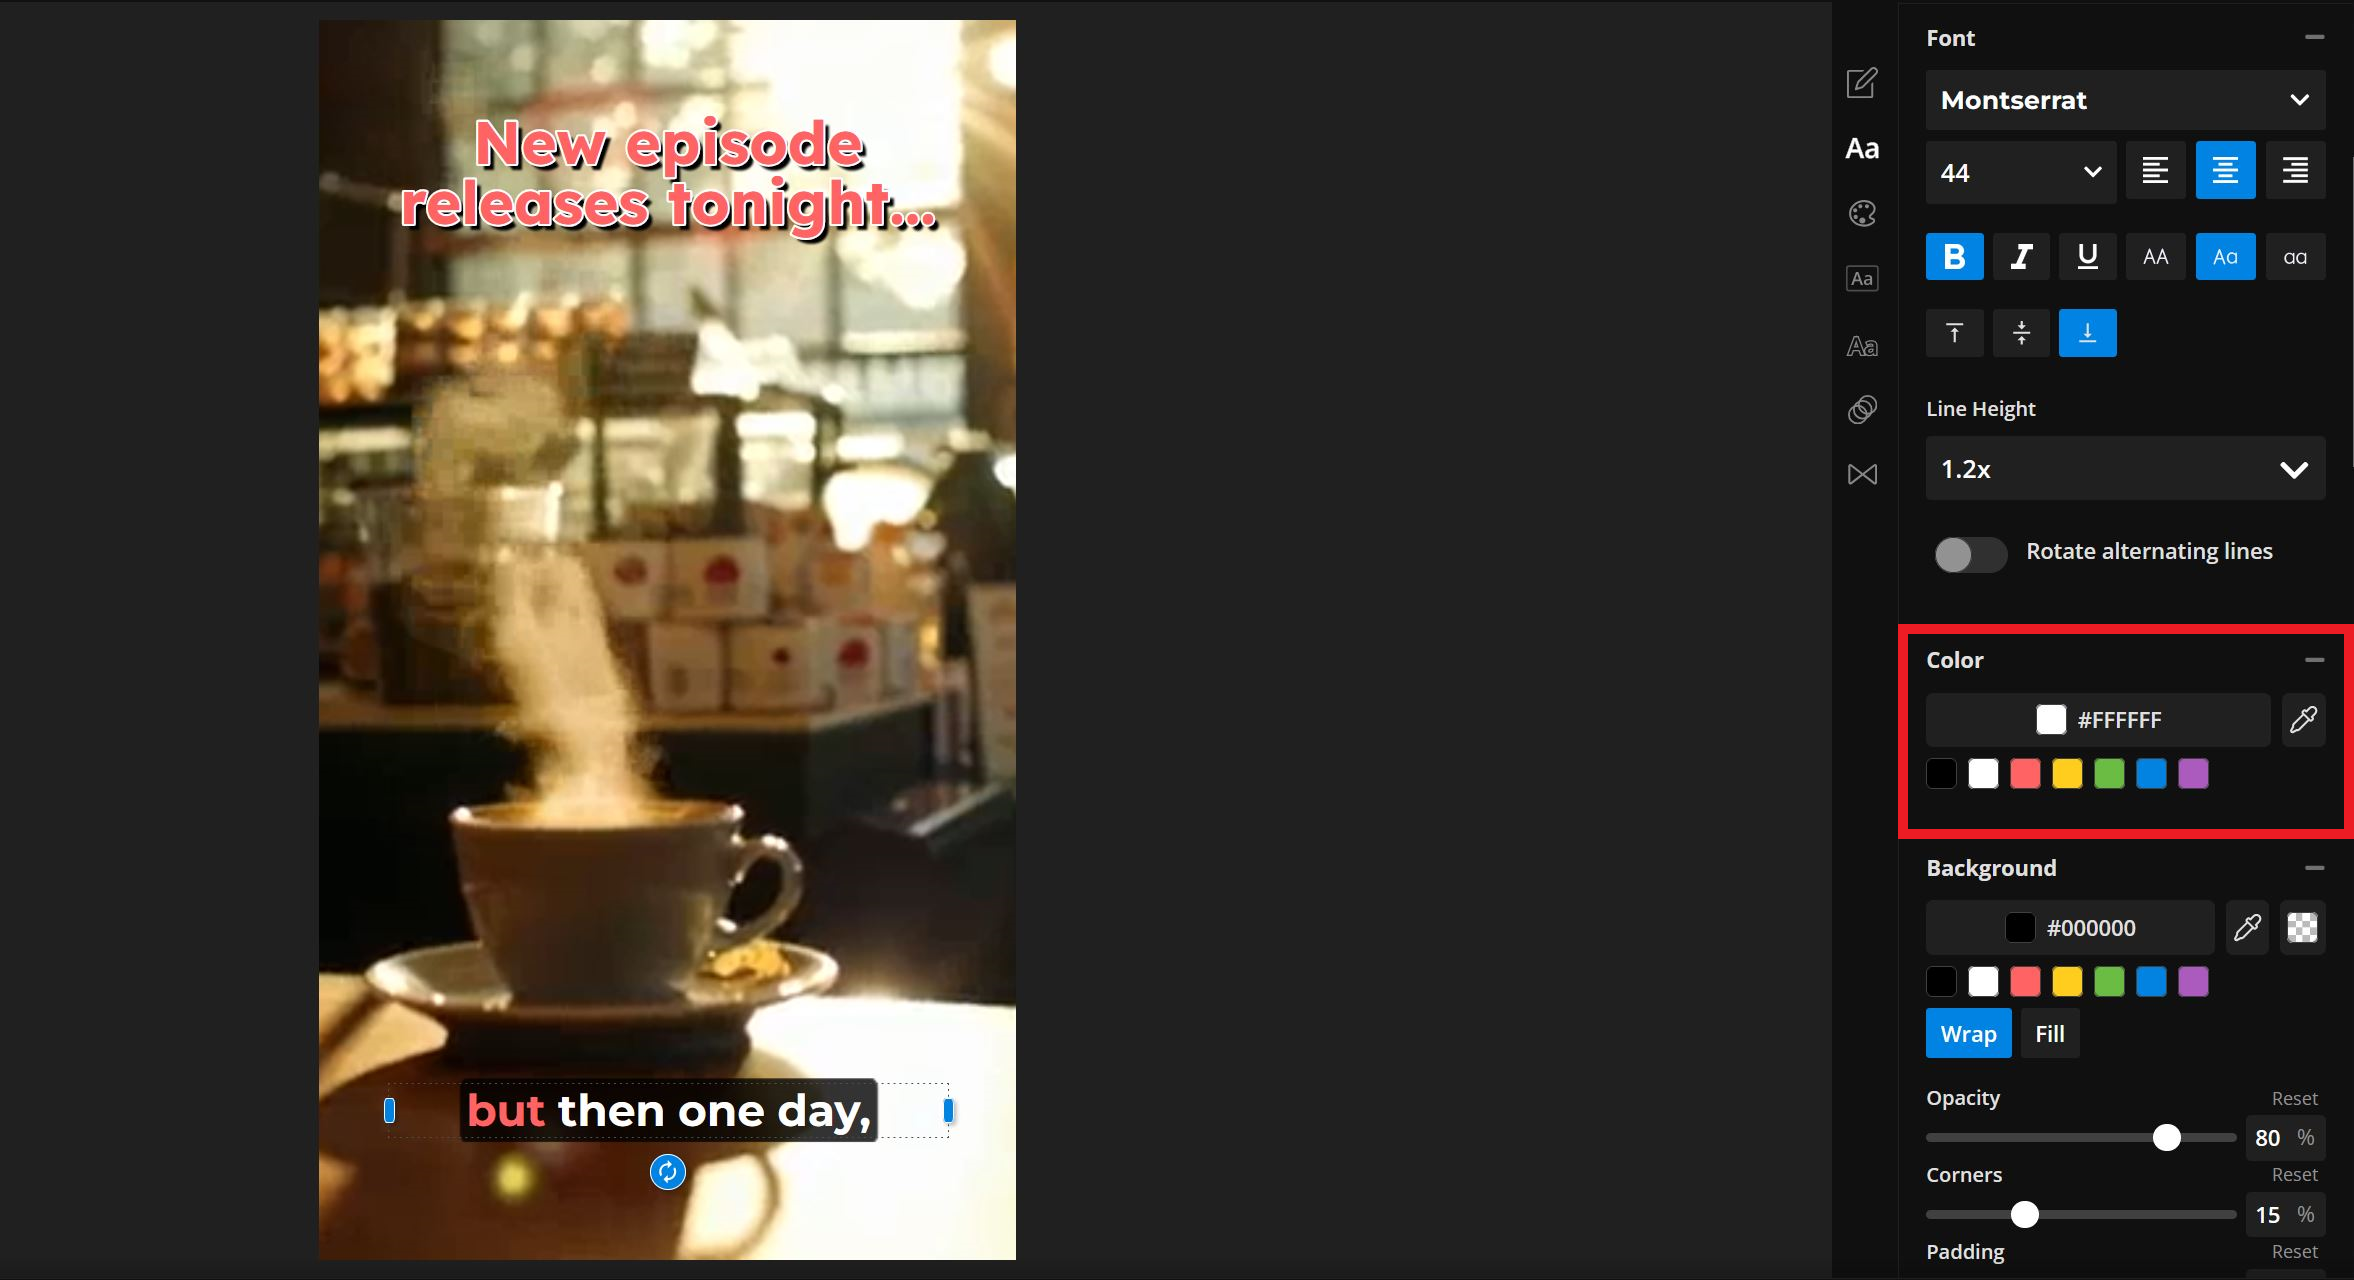
2. Color
The color of your captions is a subtle yet important detail. Smart color choices can help your captions blend seamlessly with your video or make them stand out when needed. Ensure the color of your captions aligns with your video’s theme for consistency.
To change the text color, simply use the Color tool in the right-hand toolbar.
You can select from preset options, enter a hex code, or choose from saved brand colors.
While choosing a color can be fun, don’t get too caught up in the process. Consider how the color will impact your captions' visibility and overall display.
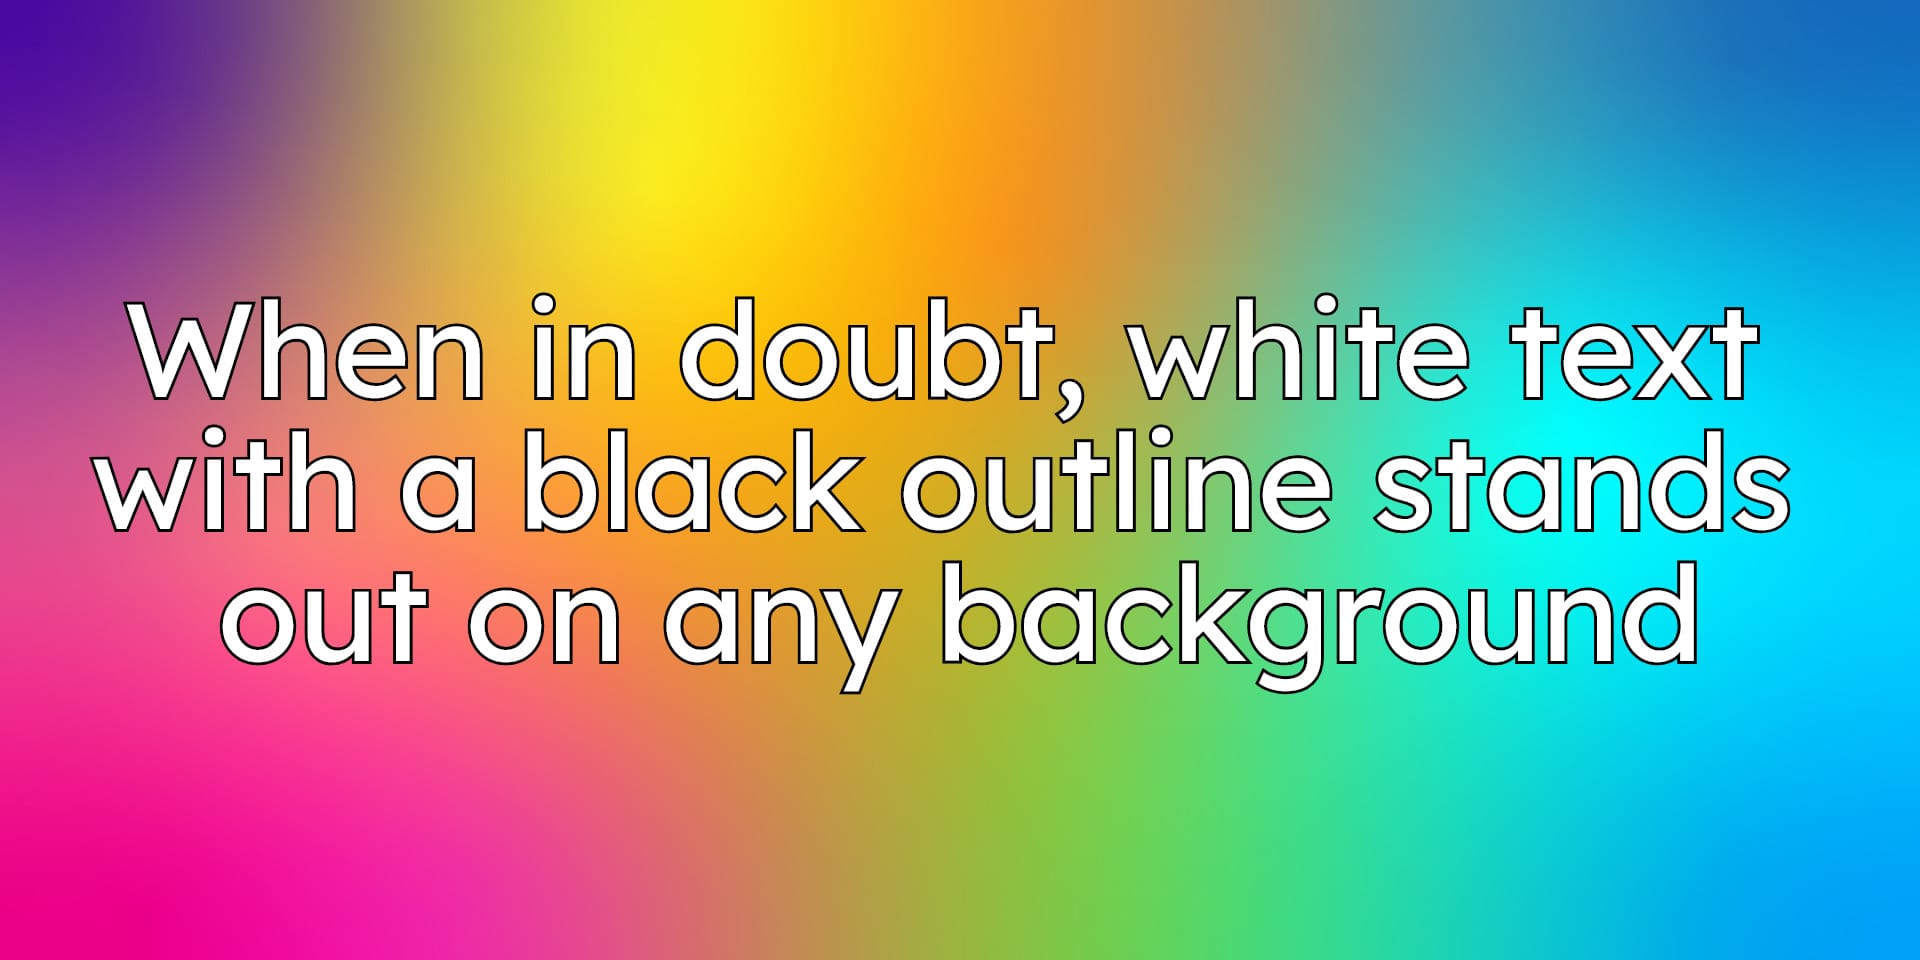
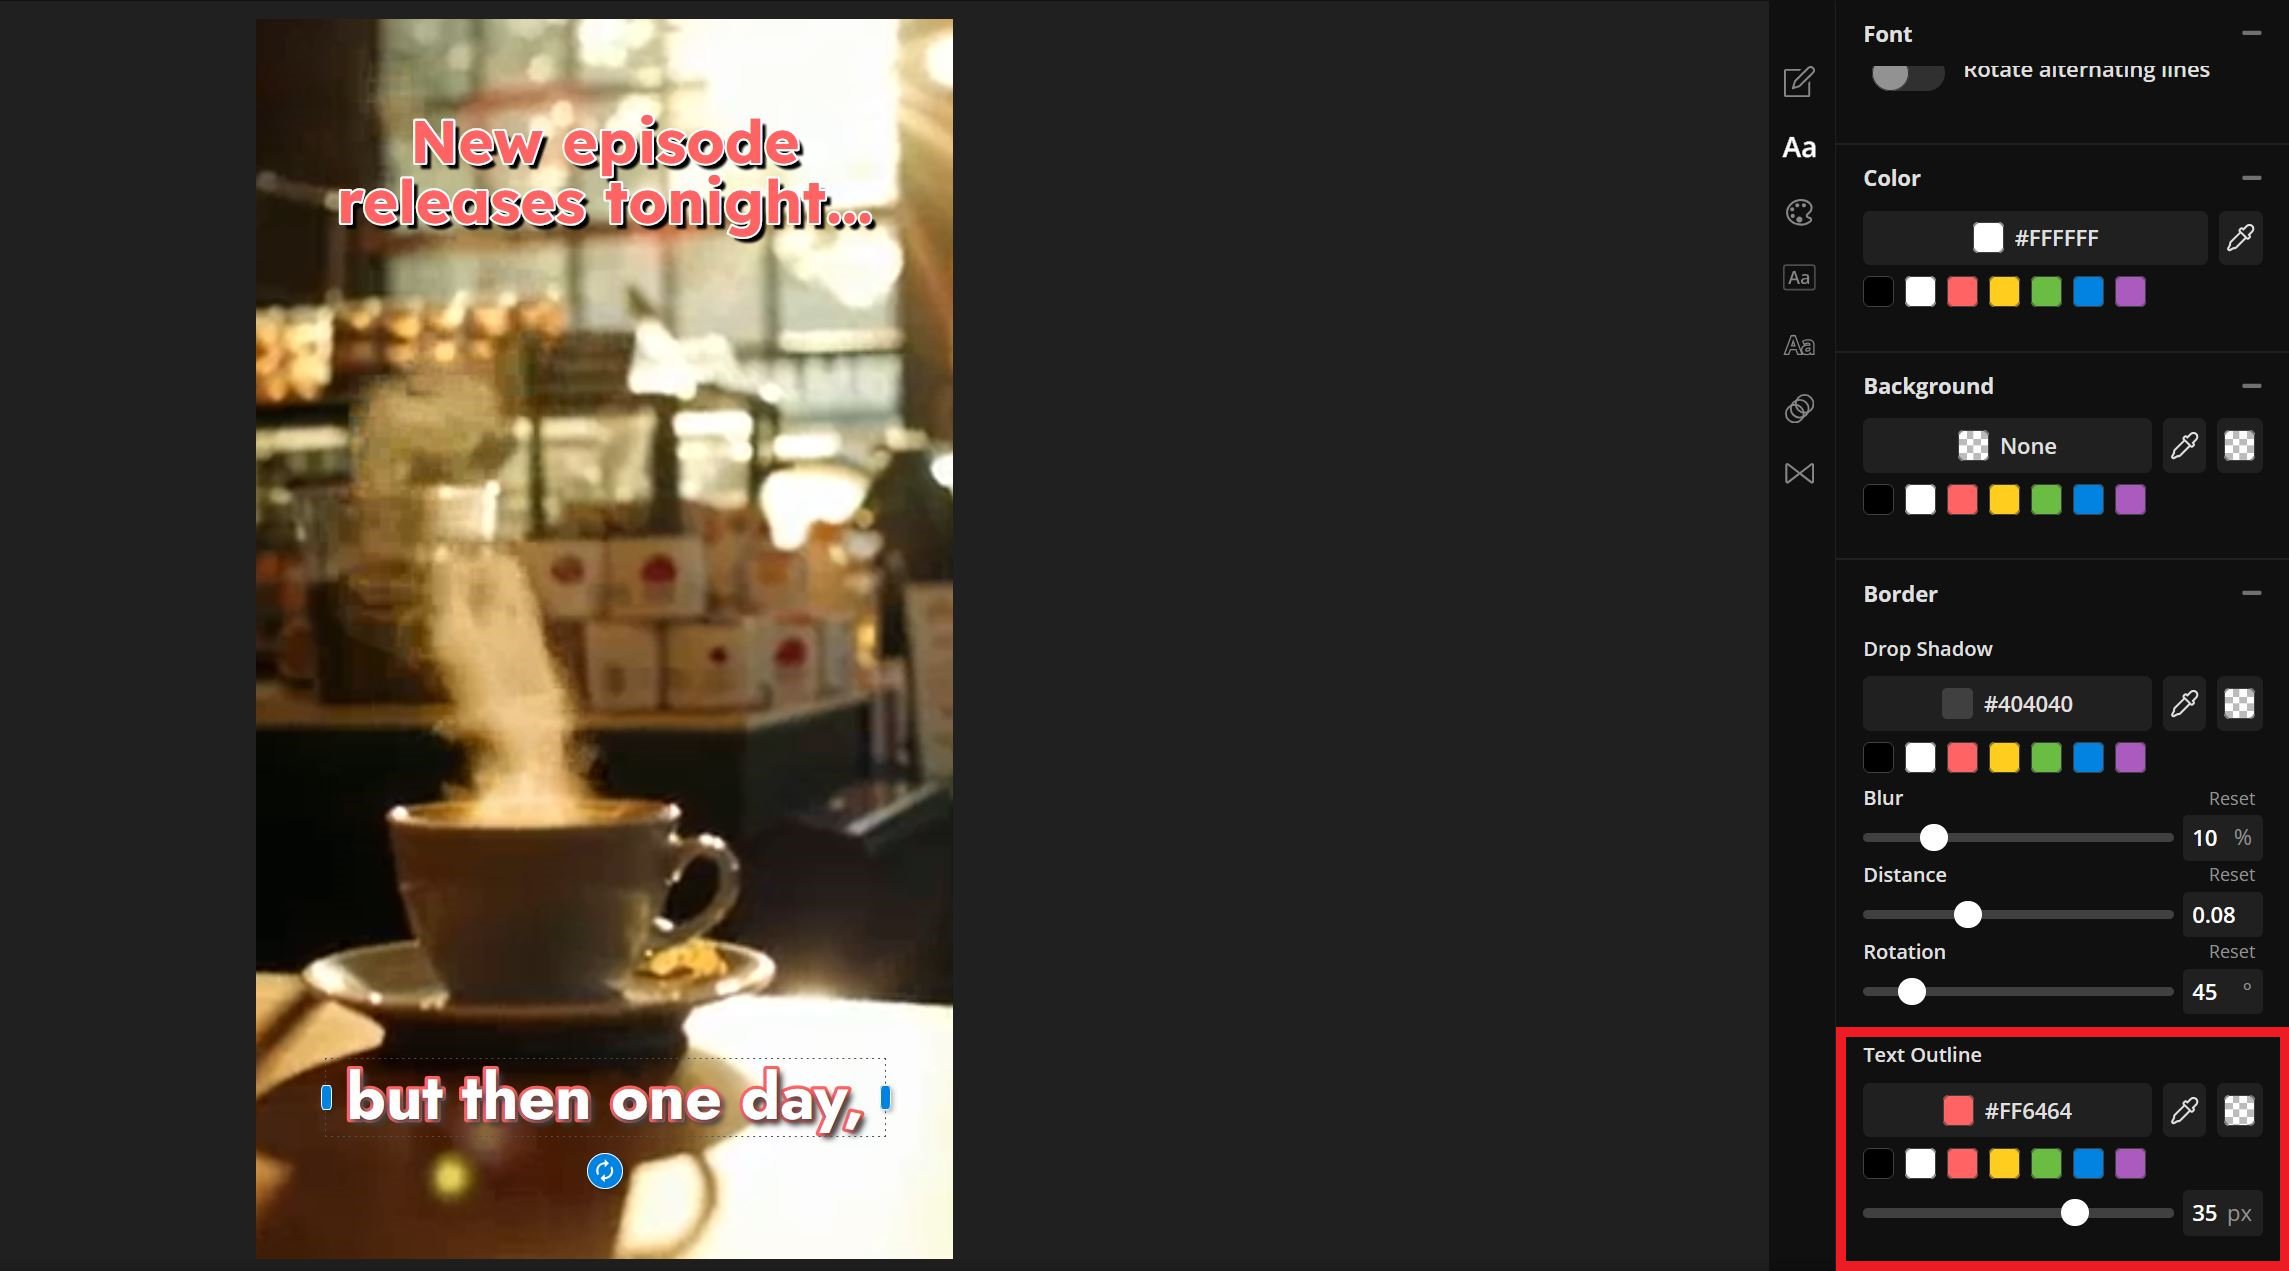
3. Text Outline
Adding a text outline is key to making CapCut-style captions visible, especially over busy backgrounds.
Try different color combinations to ensure your captions are clear and easy to follow without distracting from the video itself.
To adjust the text outline, find the Text Outline option at the bottom of the Border tool group.
Select your desired color and adjust the "weight" or thickness of the outline using the slider beneath.
Moving the slider to the right will produce a thicker outline, while moving it to the left will create a thinner one.
By adding a text outline to your captions, you can easily replicate a CapCut-style caption like the ones shown earlier. To fully replicate certain styles, consider adding a background color, which can be found in the same text editing menu as the other tools.
Here’s a comparison of three captions: one with no effects, one with a black outline, and one with both a black outline and a yellow background. From left to right, these captions include:
- Text with no effects
- Text with a black outline
- Text with a black outline and a yellow background

As you can see, the visibility improves with the second and third options, thanks to their high-contrast color combinations. These effects not only enhance readability but also bring your captions closer to the CapCut styling.
Simple Ways to Make Your Captions Stand Out
In addition to the text-editing tools mentioned earlier, there are a few other features worth experimenting with. These tools are easy to use and can significantly enhance the professionalism of your video without requiring much extra editing time.
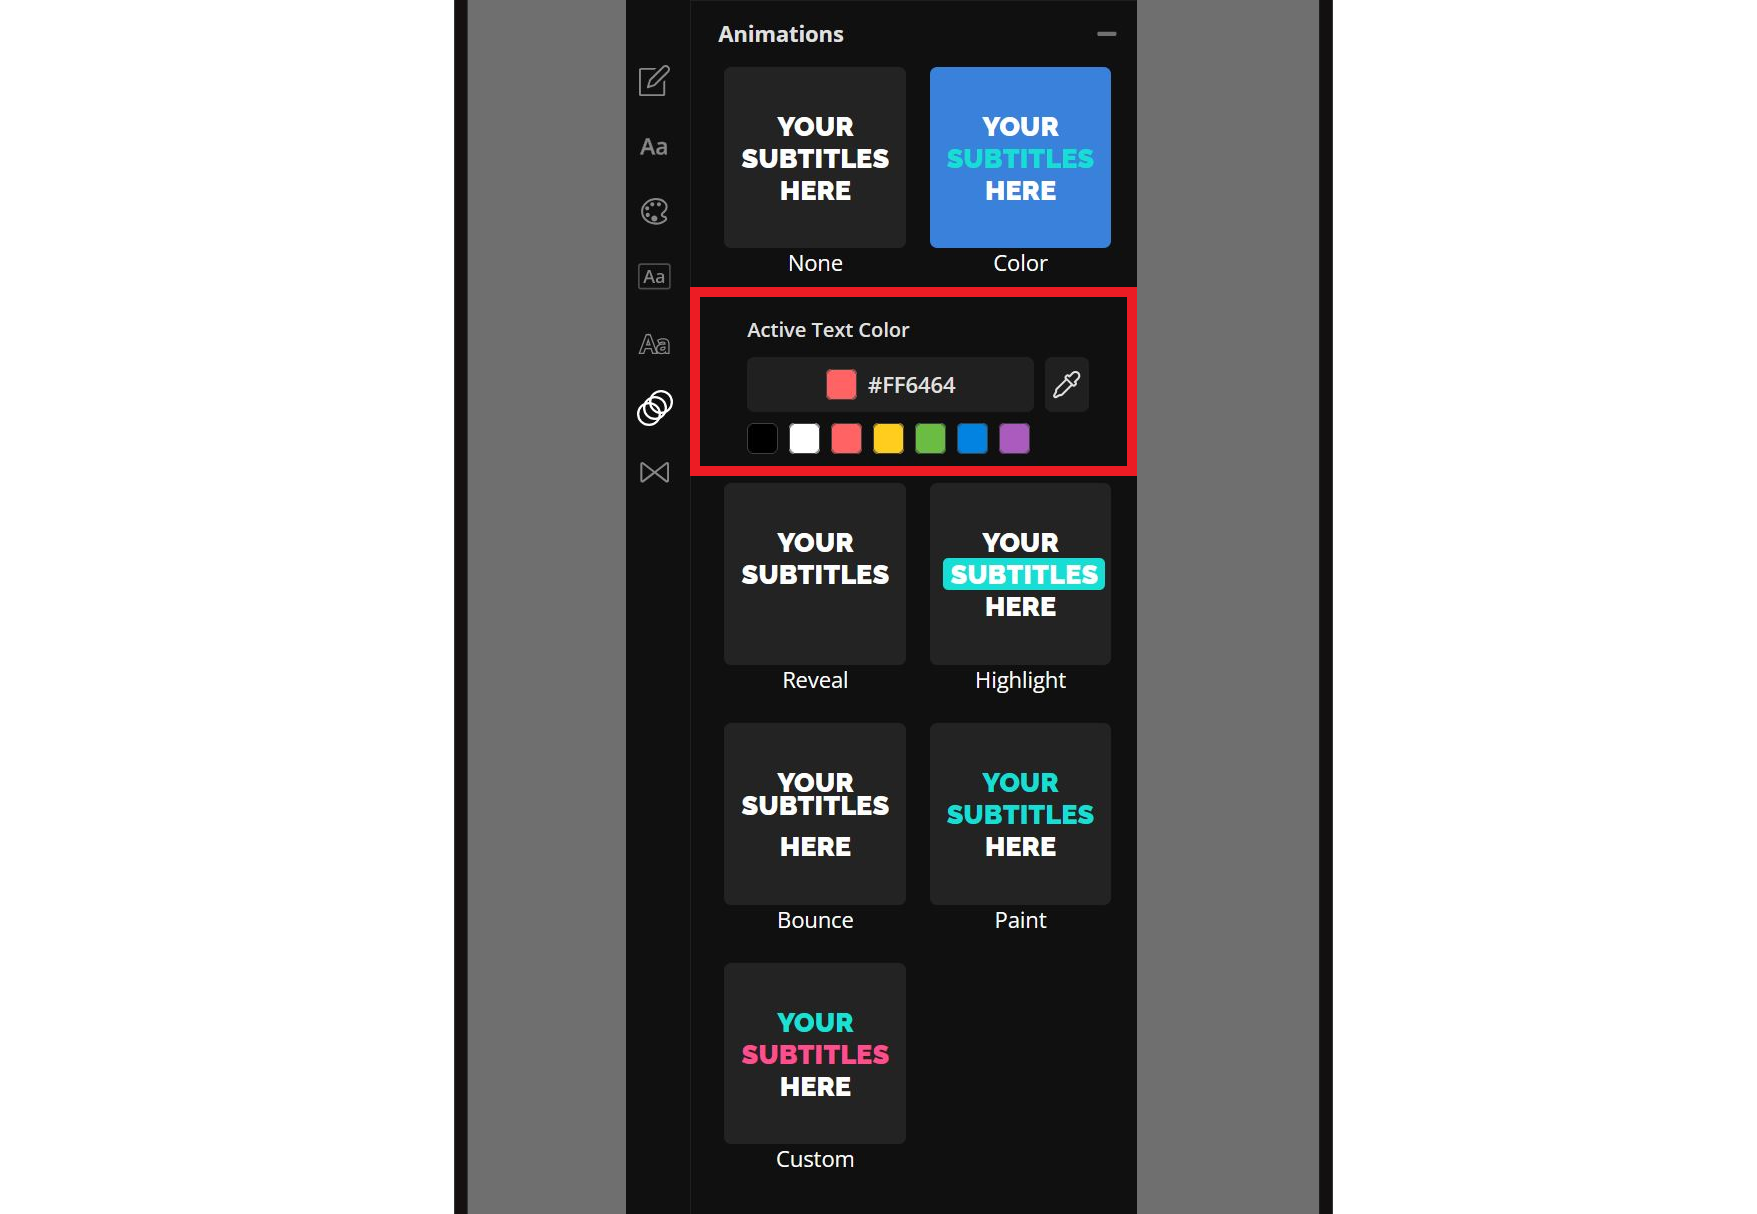
Active Text Color
This tool, found within the Animations tool block, adds a sense of pacing to your captions by actively highlighting each word as it’s spoken in real-time.
For dialogue-heavy content, this is an excellent way to help viewers follow along without adding distracting visuals. Like other color tools, you can adjust the active text color to match your video’s aesthetic theme.
As shown earlier, active text captions are a popular CapCut style used by many creators to boost engagement.
Active text keeps viewers more engaged than static captions alone.
Try adding your own custom active text to highlight key moments and make your captions more dynamic and effective.
Transitions
Adding transitions brings your captions to life. The default "Fade" transition works well for most captions, especially for CapCut-style captions.

For more advanced users, Kapwing allows you to create custom transitions by applying keyframes to your text. However, for those looking for a simpler experience, you can easily select from three popular transitions to apply to your captions.
While subtle, text animations improve a video's level of polish.
Above, you can see how text transitions enhance a video’s professionalism. To maintain optimal visibility without causing distractions, adjust the transition speed to align with your video’s pacing.
Color Sampler
While simple, the Color Sampler tool is often overlooked despite its effectiveness in creating cohesive visuals.
To match your captions to specific colors within your video frame, use the Color Sampler tool in any color menu. Simply look for the dropper icon, then click anywhere within your video frame to sample the color and apply it to your captions.