How to Make Twitch Sub Badges (Transparent Background)
Learn how to make and download Twitch sub badges

Twitch streamers can use sub badges to easily identify regular viewers in a bustling chat. These compelling icons automatically appear next to usernames and help to signify whether or not a viewer is a paid subscriber.
Anyone who subscribes to your Twitch channel will automatically receive a subscriber badge next to their name, with further badges available to those who stick around for longer periods.
Given how popular the site is, with 2.5 million people said to be watching live Twitch content at any given time, unique sub badges offer streamers a chance to stand out among other content creators and help develop a strong brand identity with subscribers.
In this guide will explain how you can make a unique Twitch subscriber badge, complete with a transparent background for uploading.
Table of Contents
Who Can Add Sub Badges to Their Twitch Channel?
In an open letter published on Feb 27, 2025, Twitch CEO Dan Clancy confirmed that the site will allow all of its creators to monetize their content through Subscriptions and Bits in 2025, from the moment they begin streaming. At the time of writing in March, however, subscriber badges can only be added by Twitch streamers who have obtained Affiliate status.
To become an affiliate, streamers must meet all four of the following requirements:
- Reached 50 followers
- Have streamed for eight hours
- Have streamed on seven different days
- Reach an average audience of three or more viewers
Once you have reached all four of these requirements, Twitch will email you to invite you to join the Affiliate program.
Those who are among the first to subscribe to your channel will receive a Founders Badge – a special emblem to signify that they are an original viewer of your content. The first 10 subscribers to Affiliate channels will receive a Founders Badge, while the first 25 people who subscribe to a Partner channel will receive a founders badge.
Creators who achieve Partner status will also unlock additional badge slots and can reward subscribers’ loyalty with a new badge for every year up to 10 years they are subscribed to the channel.
To reach Partner status, Twitch creators must:
- Complete the Path to Partner achievement, which requires creators to stream for 25 hours, stream on 12 different days and achieve an average of 75 concurrent viewers per stream
- Additionally, have at least eight separate streams with 75 average viewers in two consecutive months leading up to your application
- Ensure that your content does not violate the Twitch Community Guidelines and that you have not received a streaming suspension
These guidelines are a minimum requirement, and Twitch may still reject your Partner application due to wider circumstances, such as the creator already having an established following on other platforms.
How to Make Twitch Sub Badges
Step 1) Find a Picture for Your Badge
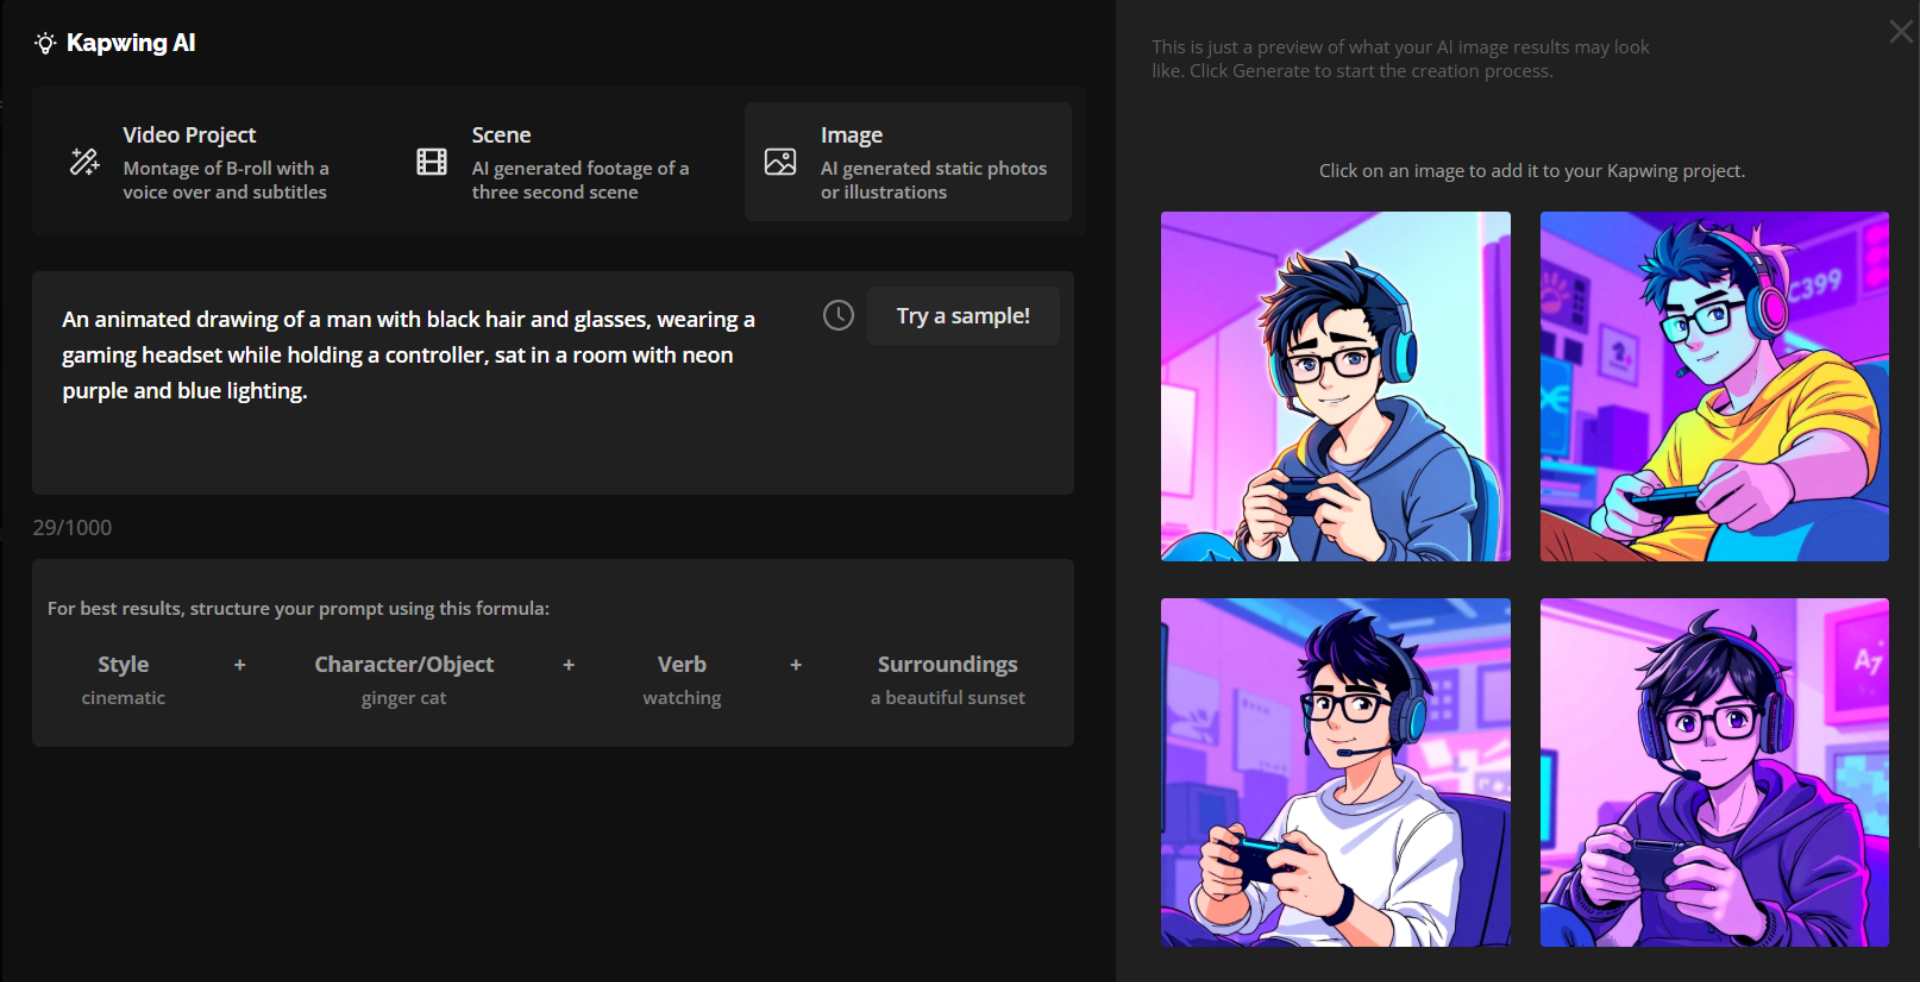
One easy way to create a unique Sub Badge that is personal to your channel is by using an AI image generator.
Start by launching the editor Workspace, and selecting a new project. From there, select the lightbulb emblem in the top left-hand side of the screen.
Select the Image tab and enter a detailed prompt describing how you want your Sub Badge to look. Consider choosing a design that reflects your channel’s content and resonates with your audience, making it a meaningful symbol for your subscribers.
Next, the AI generator will generate four image options based on your prompt. If you're satisfied, you can add any of them to your project. If not, simply refine your prompt to adjust the appearance of the images until you get the perfect design.
Kapwing also offers a media library of royalty-free images that you can use to create your Sub Badge.
Simply select the Images tab on the left and use the search function to find a picture that fits your vision. Once you’ve found the right image, click on it to add it to your project.
Alternatively, you can upload your own image that may be significant to you or your channel branding by selecting Click to upload on your workspace.
Step 2) Give Your Badge a Transparent Background
To upload your badge to Twitch, you must ensure that the image has a transparent background.
To do this, click "Erase" under the AI Tools section on the right-hand side of the page.
Proceed to select "Auto Remove Background" to automatically remove the image background and use the eraser brush for any areas that the Auto Remove feature may have missed.
Once you have removed the background from your image, ensure that the Background tab on the right is set to ‘none’ to ensure your image is transparent.
Next, enhance your Twitch sub badge with a range of free image editing tools.
Use the Adjust option to fine-tune brightness, saturation, contrast, and more, or explore Filters to give your badge a unique look.
You can round the corners of your badge, rotate the image, flip it horizontally and vertically, and use the elements tab to add shapes.
Pro Tip: Avoid using text as it will be hard to read, given the size of the image.
Step 4) Resize Your Badge
Twitch sub badges come in three sizes:
- 18px x 18px
- 36px x 36 px
- 72px x 72px
Twitch guidelines require that you must create and upload a badge for each size.
You can resize the background to create each versions. In order to do so, select Resize Project in the top right of the page, before clicking the Custom Size option.
Once you have Exported and Downloaded in one size, you can resize the project to fit the other two sizes specified by Twitch.
Step 5) Export and Download Your Twitch Sub Badge
Once you are satisfied with the changes made to your badge, select Export Project in the top right-hand corner of the studio.
All Twitch badges must be uploaded in PNG format. To keep your image in the correct size, select the Auto option under the Resolution header. Ensure that your image does not exceed the maximum size, which is 25kb.
Step 6) Upload Your Sub Badge to Twitch
To upload your Sub Badge to Twitch, head to your channel dashboard and follow these steps:
- Select the Monetization section
- Click Subscriptions
- Select Subscriber Badges
- Navigate to the Manage Badges section on the dropdown menu and select the badge you would like to replace or modify
- Hit the + symbol on each of the three size options, then Save Changes


