How to Make a Twitch Banner Image
Twitch recommends a 1200 x 480 banner size – I'll show you how to format your Twitch banner precisely, using Kapwing.
Twitch dominates live streaming, so if you’re looking to build a live channel, it's the place to be. Part of your channel build includes the Twitch Banner, which can be tricky to size and design.
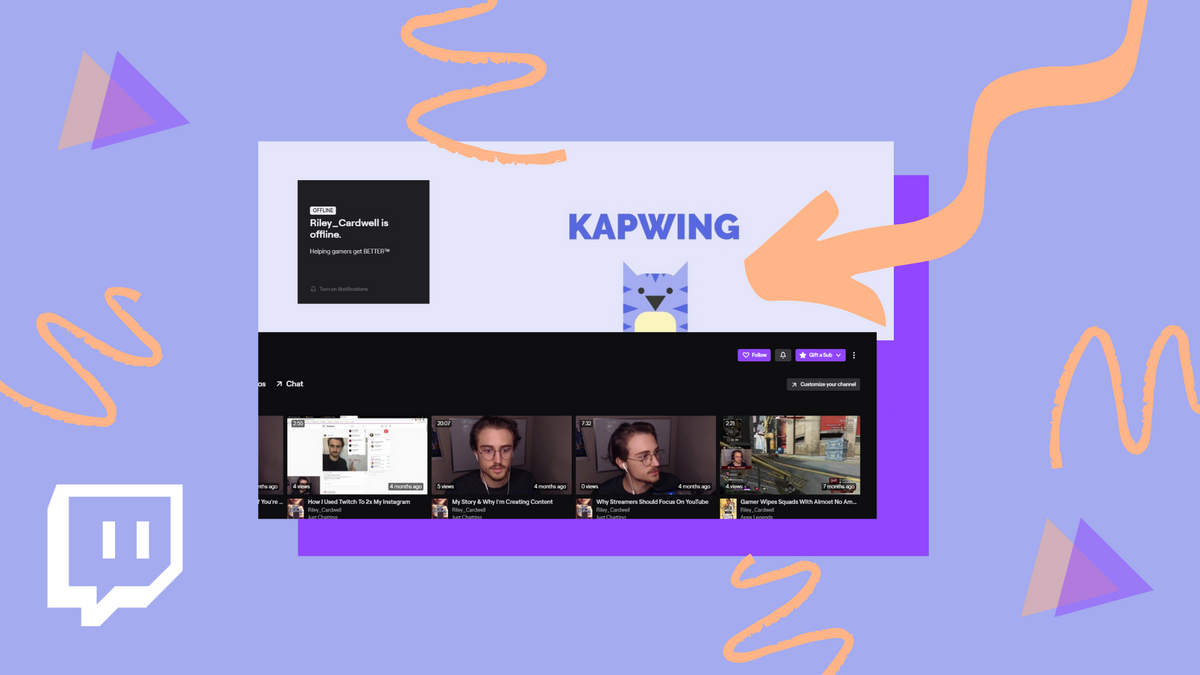
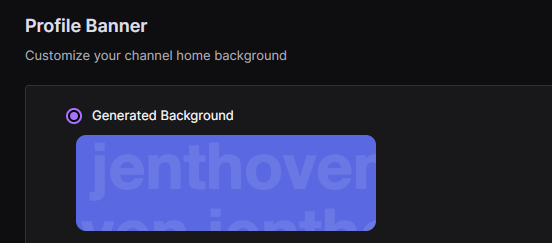
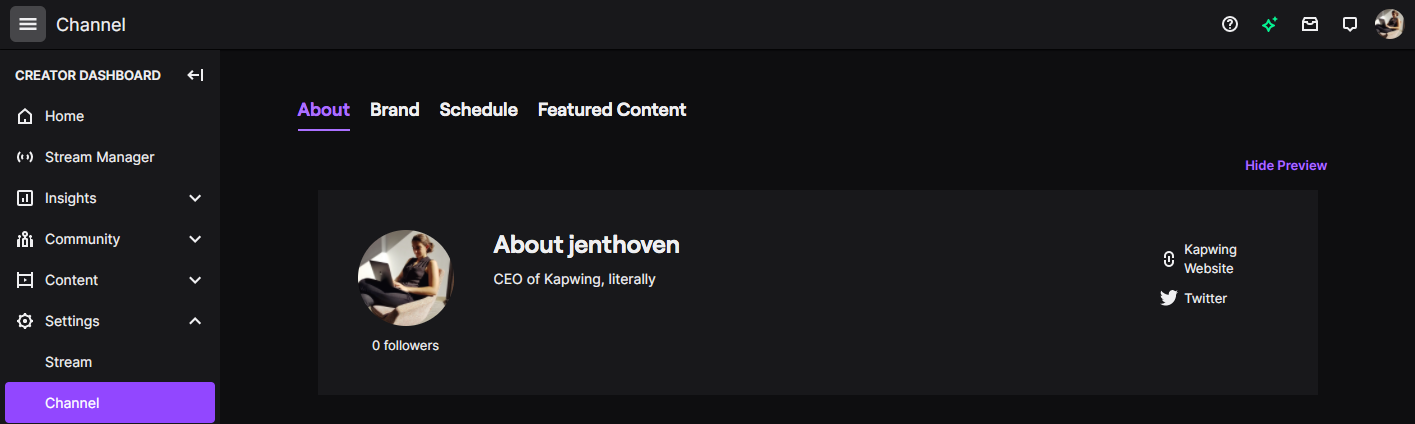
The Profile Banner shows up behind your channel name, heading, and video box at the top of the profile page. By default, a Twitch channel gets a banner which shows your username repeated in semi-transparent letters.

When you enter the "Customize Channel" area, you will see this default "Generated Background" option selected.
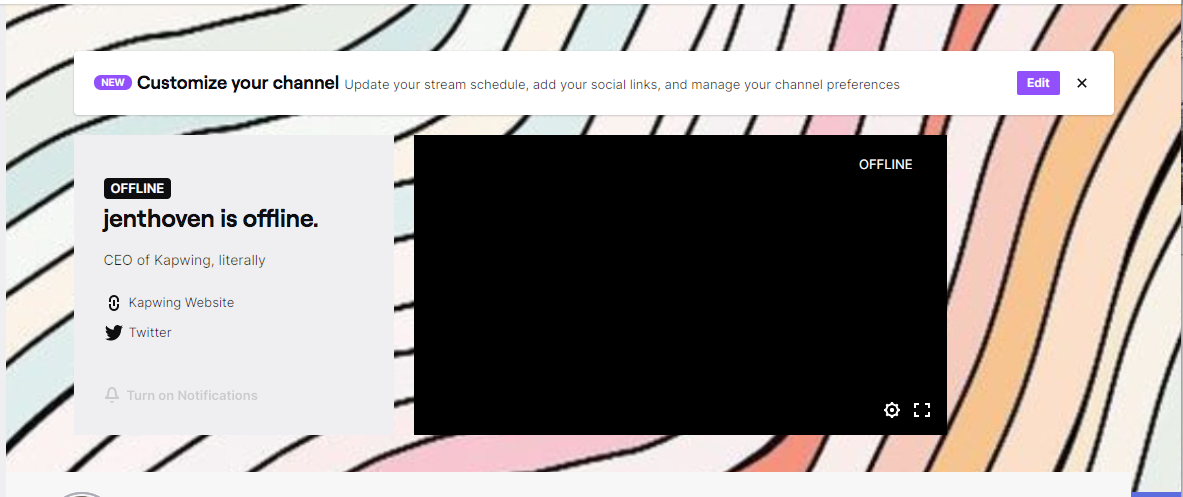
The Profile Banner only shows up when a creator is offline. When you're online, the Profile Banner is replaced by your live stream.
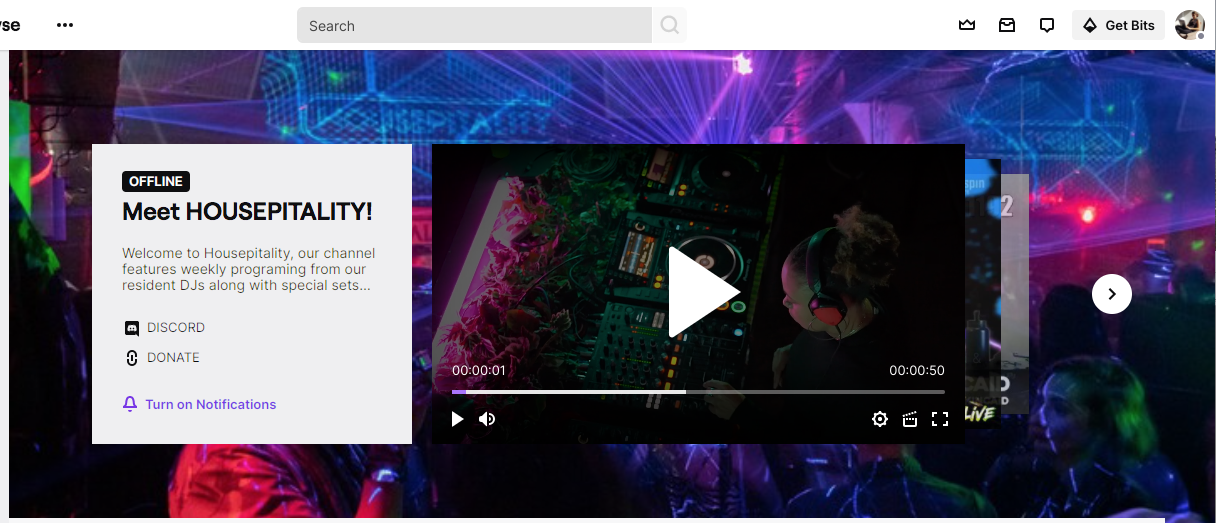
Twitch creators have all sorts of different Profile backgrounds. Sometimes, they feature a logo, creator name, and text. Other times, they have a texture or pattern, or a photo, thumbnail, or screenshot from a recent video. Choose a banner that matches your channel's brand and image.
Twitch recommends a ‘1200 x 480’ banner size for the profile header. Use this 1200 x 480 Twitch banner template to resize your image, if it is too big or small.
In this article, we'll show you how to design your Twitch banner, as well as a panel design to go beneath it.
Table of Contents
How to Make A Twitch Banner Image
1. Open Digital Canvas With the Right Size
First, open the Kapwing Studio and click the ‘Start with a blank canvas’ button. This will open the image space for you to design your banner, and the background is white by default.
To get the right dimensions, click on ‘Custom Size’ under Output and set the width to '1920' and the height to '480'.
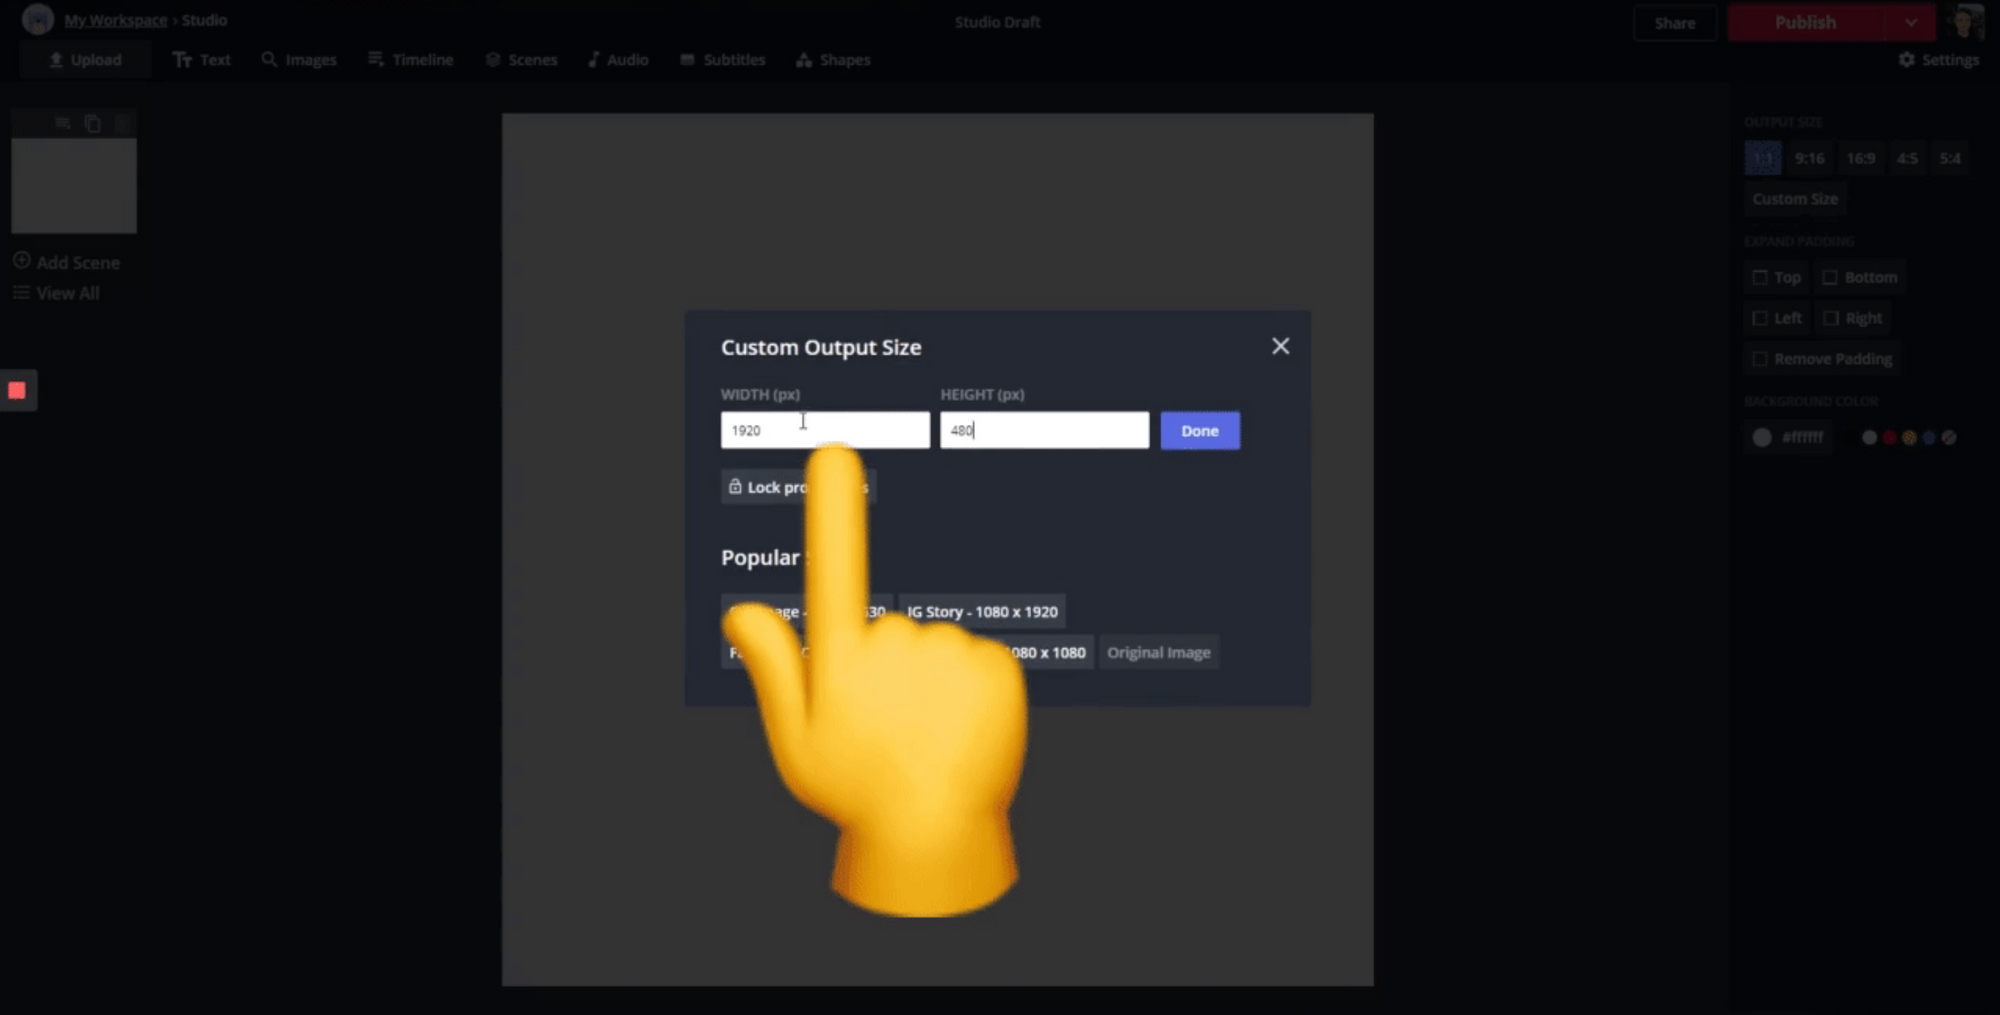
Twitch recommends a ‘1200 x 480’ banner size, but I’ve found ‘1920 x 480’ to be less blurry and to fit wider screens. If you want to get a crisper image, use the 1920 x 480 size.
2. Design Your Profile Banner
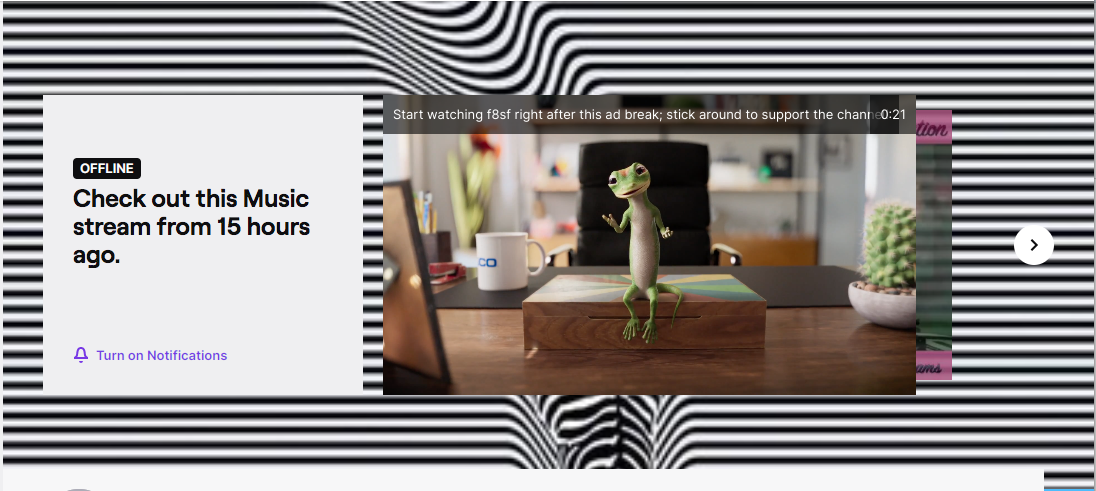
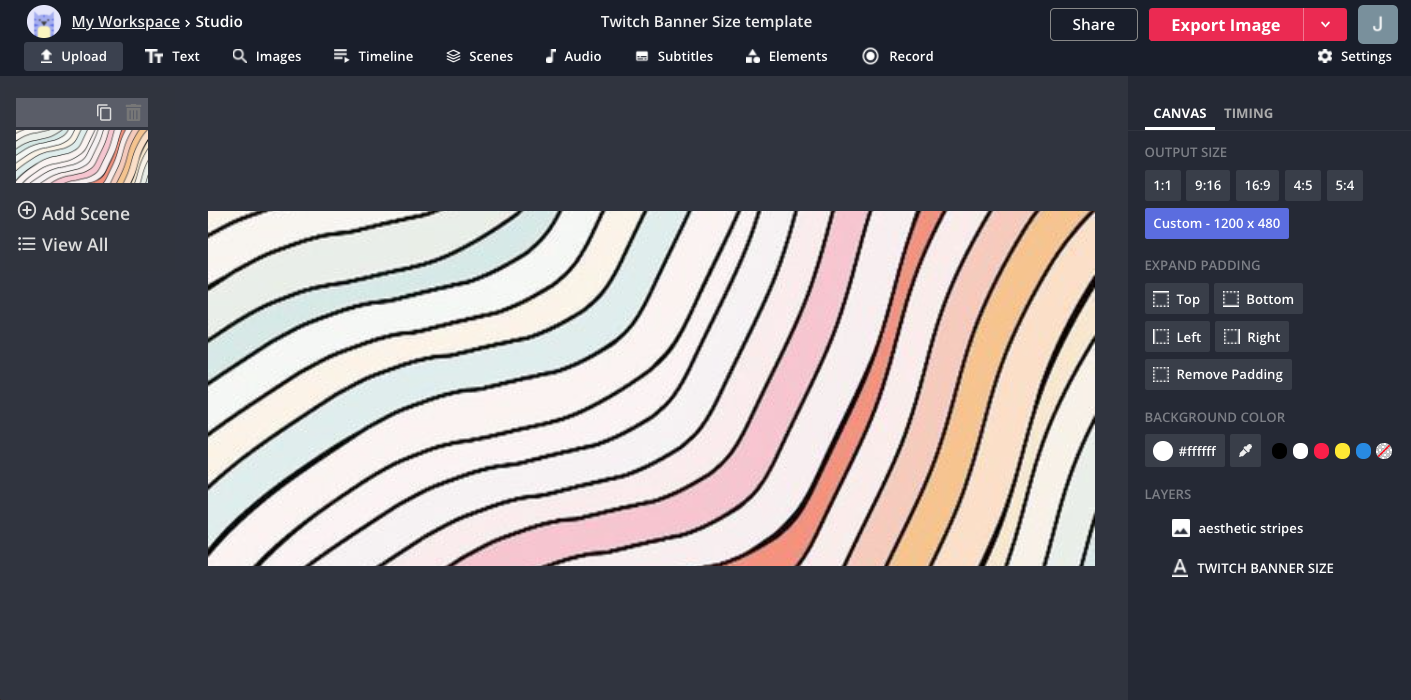
Now, change the background, add images and add text. You can also upload photos or images. For this tutorial, I used the "Images" tool to search for an aesthetic stripes image, then used the drag and drop corner handles to resize the picture across the canvas.
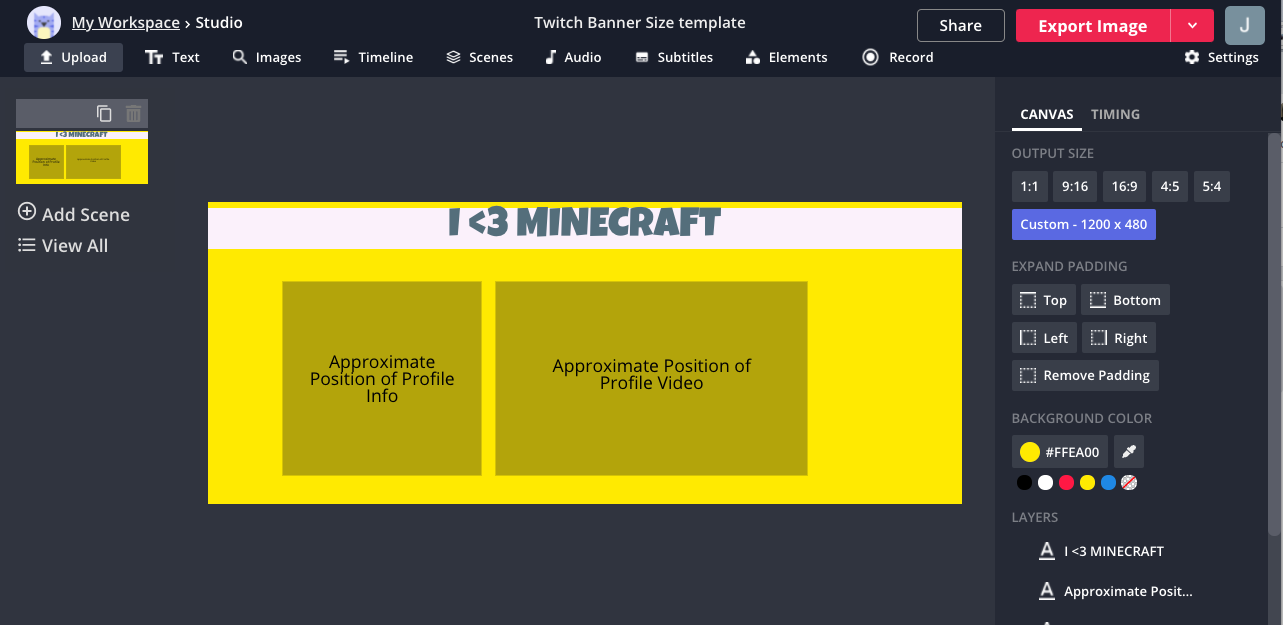
Keep in mind that Twitch’s new “channel trailer” feature will block the left-center of your design. These areas are demarcated on the Twitch Banner Template. Although the exact space depends on the width of the viewer's browser, To avoid this, just align your design to the left or right.
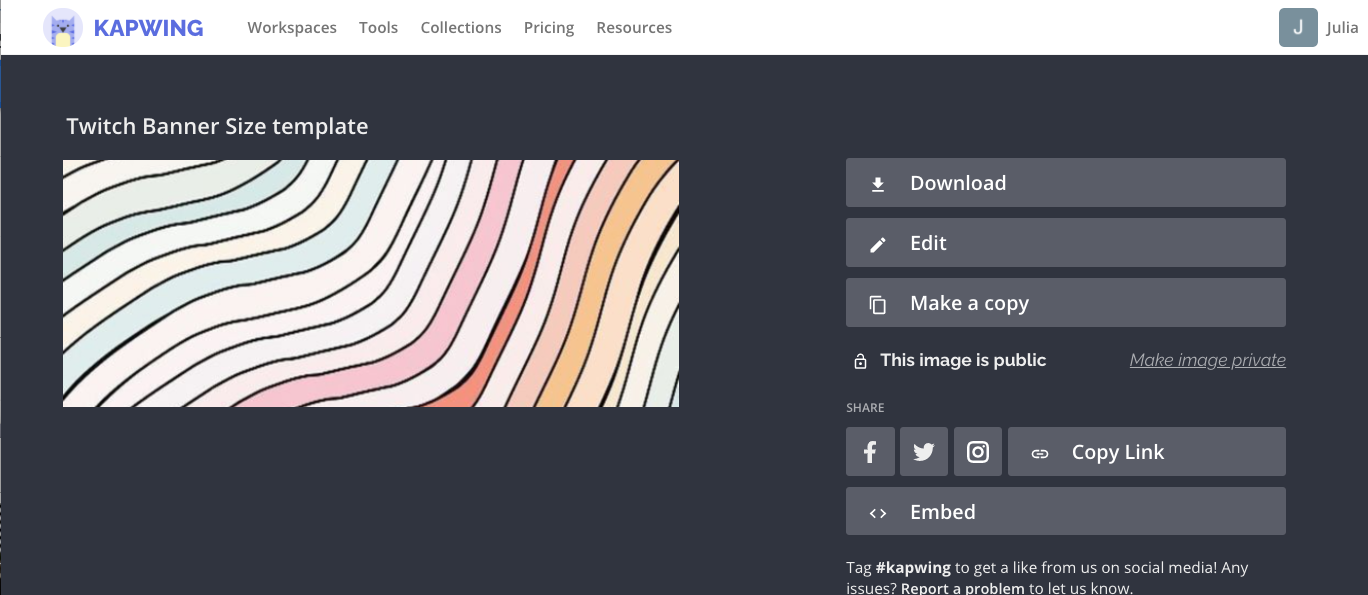
3. Export and Download
Once you’re done, click ‘Export’ in the top right corner and let the image process. Then, click ‘Download’ to save the image. The file will be a JPG, which is the right file type to upload to Twitch.
4. Publish to Twitch Profile
Head to your Twitch channel from Chrome or Safari on your computer. New creators will see a notification at the top prompting them to customize their channel with an "Edit" button. This button will open channel settings.
Open the "Brand" tab to edit your profile picture, accent colors, and profile banner. Then, upload the new image you created for the Twitch Profile banner section.
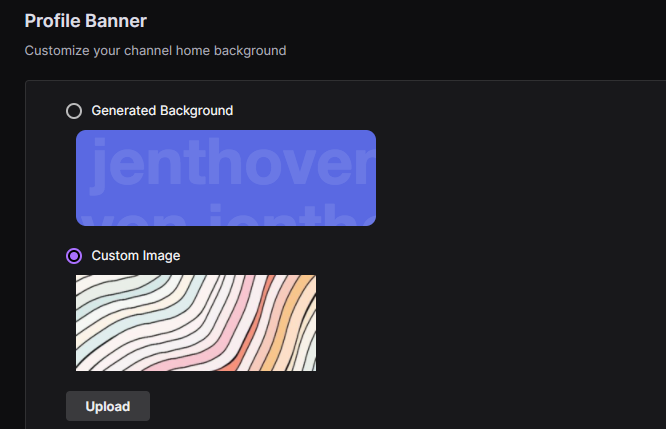
Save your new "Custom Image" to change the Profile banner to your own JPG as channel art. Now, this image will show up at the top of your channel.

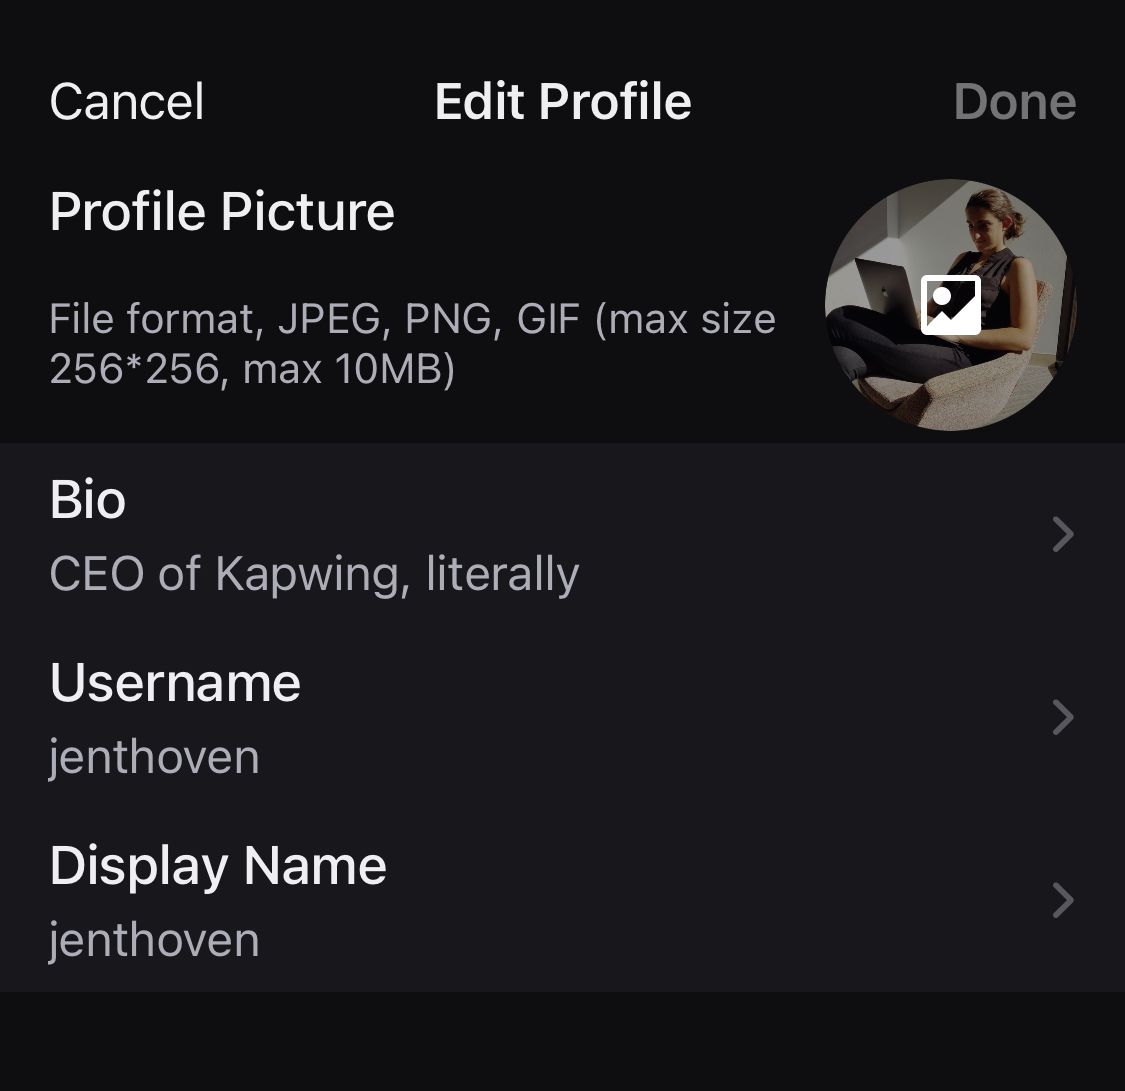
From my investigations, it is only possible to edit your profile banner from the Twitch website on desktop. If you're on the phone or the iOS app, you won't see an option to change the profile banner area.
How do I make a panel for Twitch?
Now that you are satisfied with your Twitch banner, it's time to design your panel following a similar, simple process. Panels are smaller than banners, and are used to display information and links beneath the video layer on your channel.
There are five easy steps to making a panel for Twitch:
- On the top left of your channel page, click the “Edit Panels” switch beneath the video screen to switch it from Off to On. (Note that, if your stream is offline, you can create a panel from your channel’s “About” section.)
- Start creating your panel by choosing a title, adding an image (file size maximum is 1MB and dimensions are 320 by 600 pixels), embedding links, and writing your panel description.
- Click “Submit” to save your panel.
- You can start another panel by clicking the plus (+) symbol.
- Click the “Edit Panels” switch from On to Off to return to normal channel view and check out your final look.
If you’re feeling a little uninspired, kindle your creativity with Kapwing’s Twitch panel templates. You can build off of the basic layout, using Kapwing’s editor to add text, images, elements, layers, and more.


